Extended Field Imports differ from regular data imports in that they’re a way for custom data to be used as fields in one-time broadcasts, as opposed to general data fields that can be used again and again in general-use broadcasts. An extended field import would be used in cases that require specific data (i.e., a spelling bee rank or a placement in a sports tournament) to be relayed to parents in broadcasts that would be sent once.
Extended Field Import Process
Note: For users to access this feature, they would need to be assigned user profiles with Extended Fields Imports enabled.
Defining Fields
You will need to create and define the fields that your custom data will fall under.
Click the Admin tab and the Settings sub-tab.
Under the System section, click Field Definitions. If all 20 fields are defined, click Extended Field Definitions.
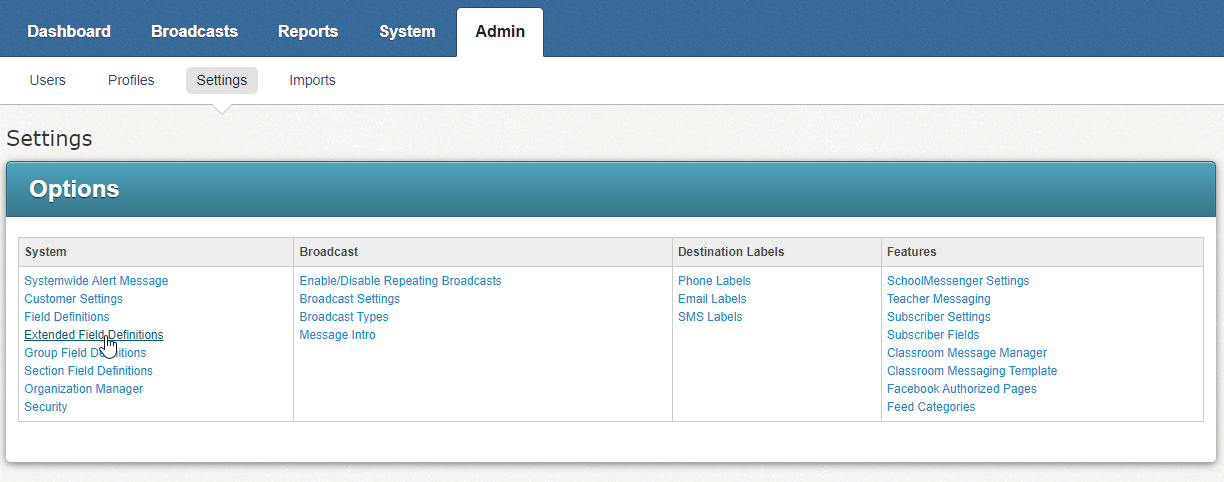
Note: If you have 20 fields in Field Definitions and don’t see a link to Extended Field Definitions, contact support for assistance.
Enter the Name of the field for custom data you’ll be using in the space provided and select the Type.
Note: The field Name is what you’ll be referencing when creating your broadcast.
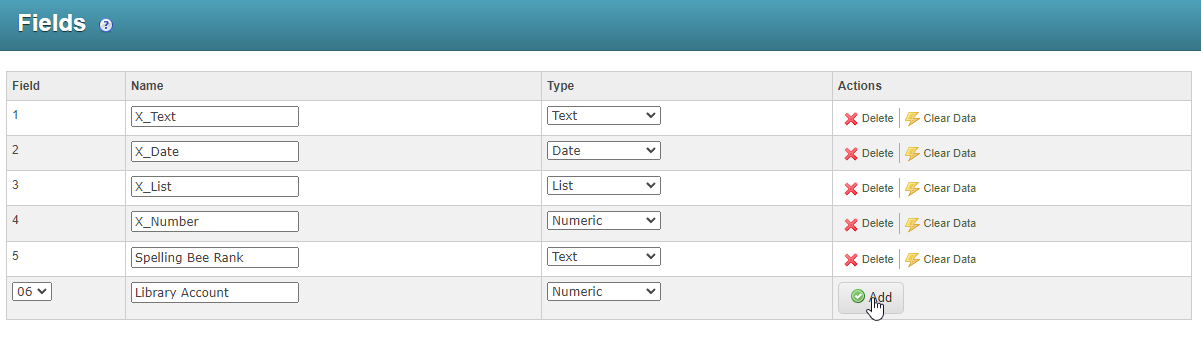
Click Add. This field is now defined and can now be mapped to your import.
Creating an Extended Field Import
Click the Admin tab and then the Imports sub-tab.
Click Add New Import. You’ll be taken to the Import Editor: New Import page.
Select Person for the Data field.
Enter a Name for the import.
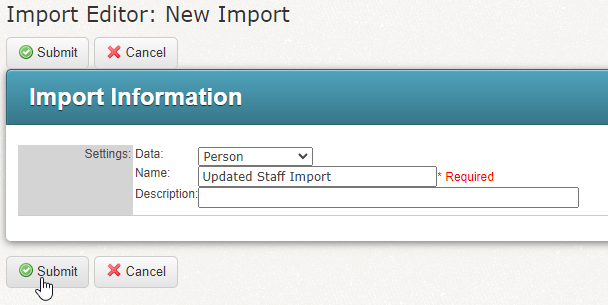
Click Submit.
Select Update Only for the Update Method field.
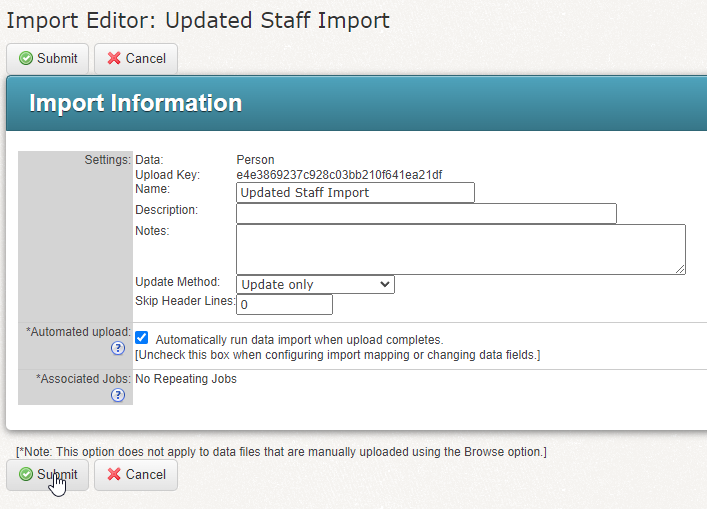
Click Submit. You’ll be taken back to the Data Import Manager page.
After submitting the import, a CSV. file with the data required/wish to import will need to be uploaded to that import in order to map the fields.
Upload Extended Field Import .CSV File
Find your import on the Data Import Manager page.

Click Upload. You’ll be taken to the Import Upload page.
Click Choose File and choose your CSV file.
Click Upload.
Once the CSV uploads, the mappings screen will be displayed. Generally field order does not matter, but column 1 must be Unique ID. Any additional extended fields can be mapped to any other column of the CSV.
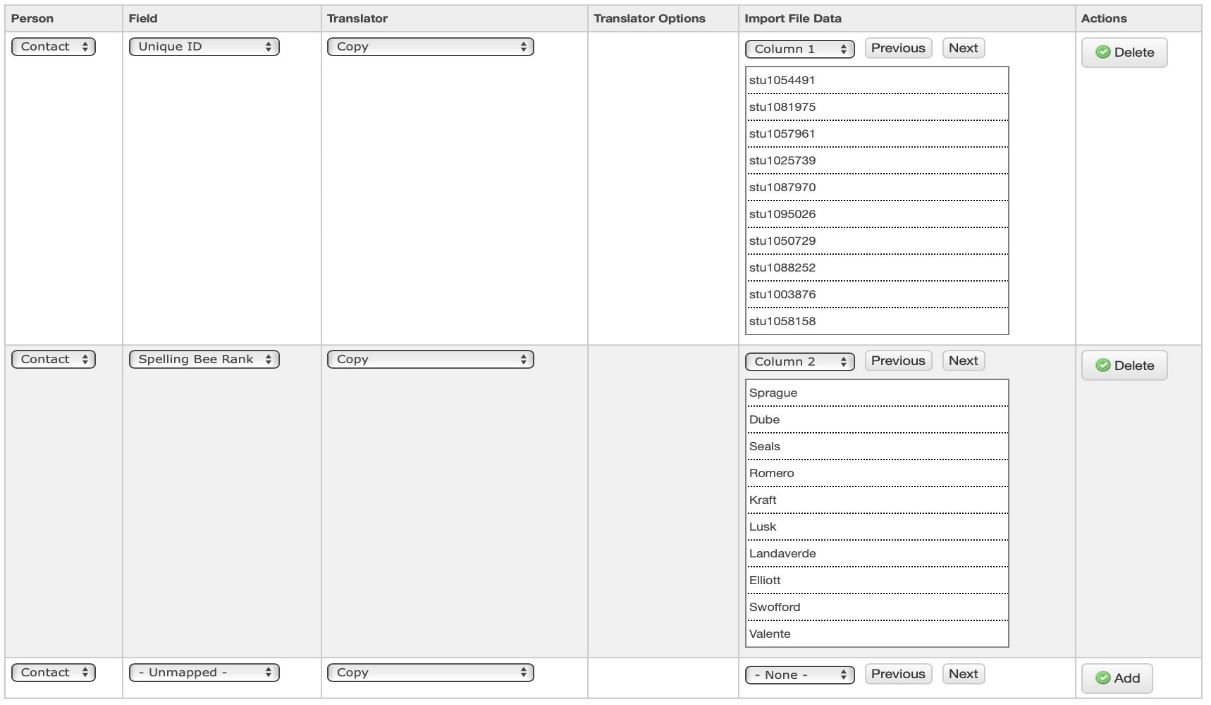
The mapped column will matter when the user creates their CSV. file with their custom data. For example, they will need to put the spelling bee rank under column B in order for the data to fall under that field.
Once the Unique ID is mapped to column 1 and any field which the user wishes to use for this extended field import are mapped, click Submit at the bottom of the page. These mappings will be established in the customer’s database and this import will be available to any user which has access to it.
Restricting Access to Specific Extended Field Imports or Fields
Admins can restrict access to specific imports at the profile-level.
Click the Admin tab and then the Profiles sub-tab.
Click Edit link next to the profile whose access you’d like to restrict.
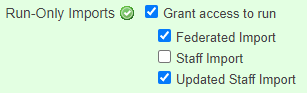
Scroll to the bottom of the page and restrict what imports this profile has access to under the Run-Only Imports section.
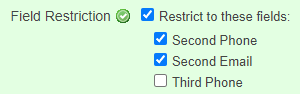
You can also give or restrict access to specific fields under this same profile-edit page under the Field Restriction section.
Uploading Custom Data in a New Broadcast
Once the fields have been defined, import created, fields-mapped, and optional profile-restrictions are in place, an extended fields import can be used to send out a broadcast using custom data. First, the user will need to upload the custom data to their broadcast.
From the Dashboard, click New Broadcast.
Enter your Broadcast Subject.
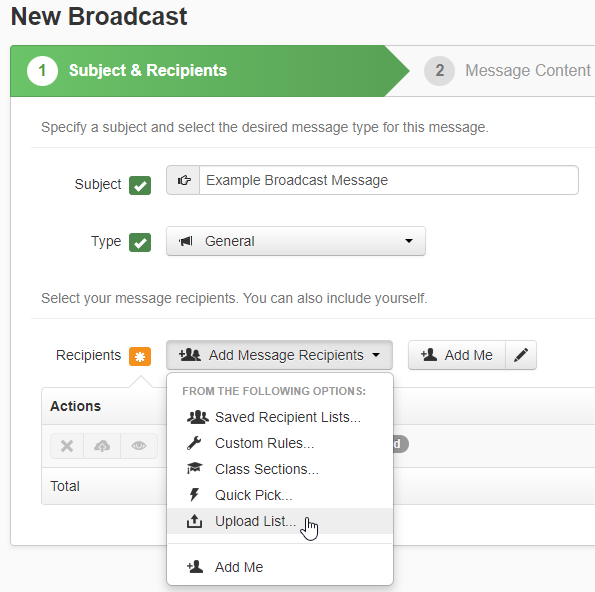
Click Add Message Recipients and select Upload List.
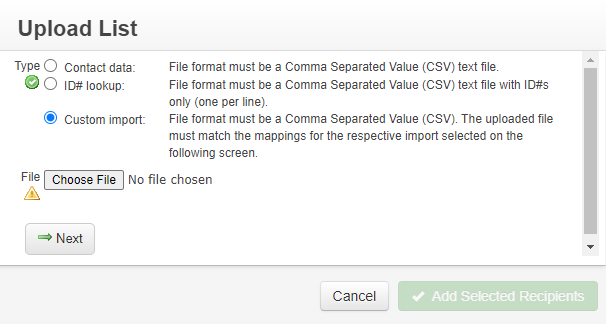
Select Custom Import under Type.
Click Choose File to upload the .CSV file with the custom data.
Note: Ensure that your .CSV file with the custom data also contains a column with Student IDs.
Select the correct Import you created earlier in the Imports section and review the data presented in the preview screen.
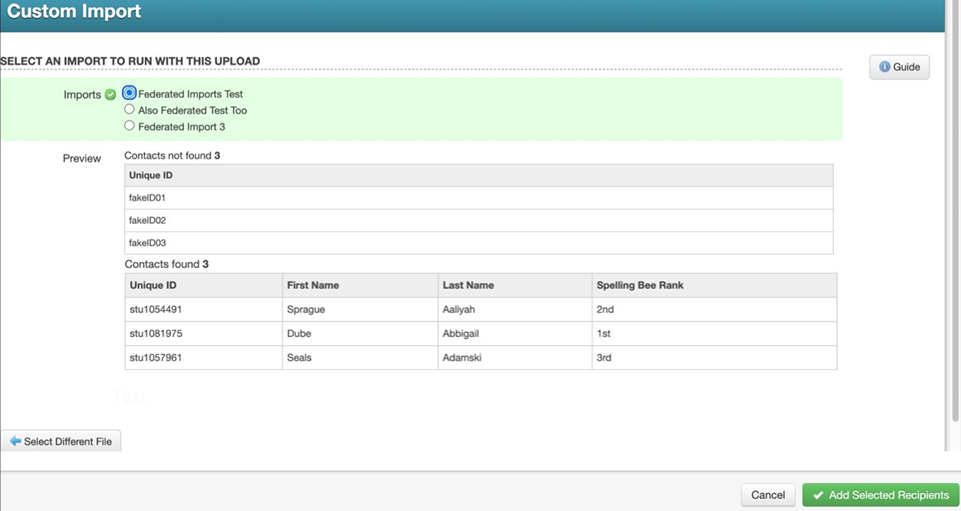
If the data falls under the correct field, click Add Selected Recipients to proceed. In the example above, these 3 recipients and the custom data their student IDs are mapped to are now added the broadcast.
If the Data is not Falling Under the Correct Field…
Your .CSV file may not be formatted correctly. For example, if you have an empty column in your custom data CSV. file, the system will not connect the data with the correct field.

Check to make sure you have the data under the corresponding column that the field is mapped to in your CSV. file. For example, when the extended field import for Spelling Bee Rank was created, we mapped the spelling bee field to column 2. So the .CSV file will need to have the spelling bee ranks under column 2 to fall under that field (column 2 = column B in the .CSV file, column 3 = column C in the .CSV file etc).
In the example below, for this extended field import, we’ve mapped the spelling bee rank to column 3, and another field (X_Test) to column 2.
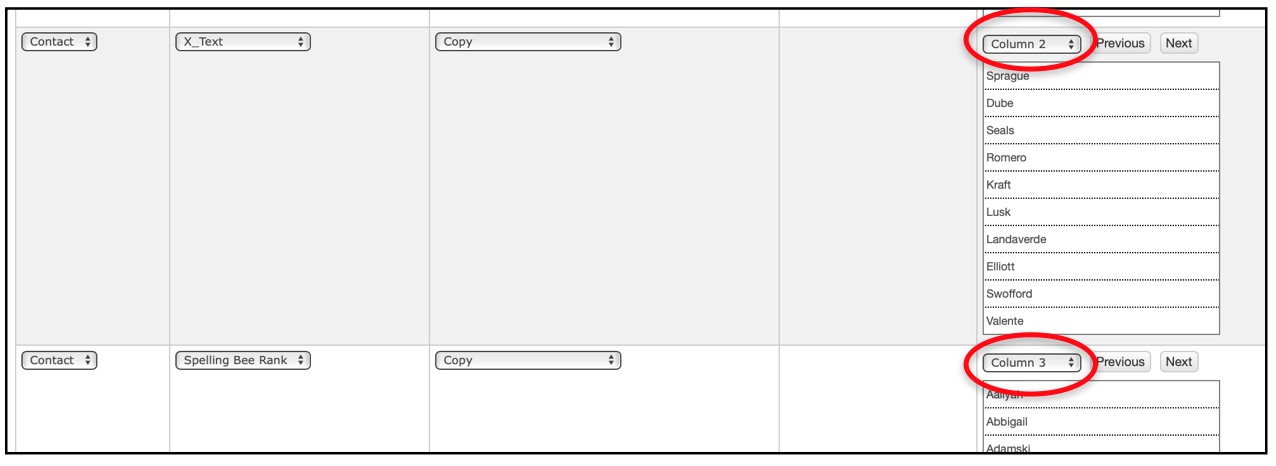
The custom data import will need to follow this format in order for the data to fall under the correct fields:
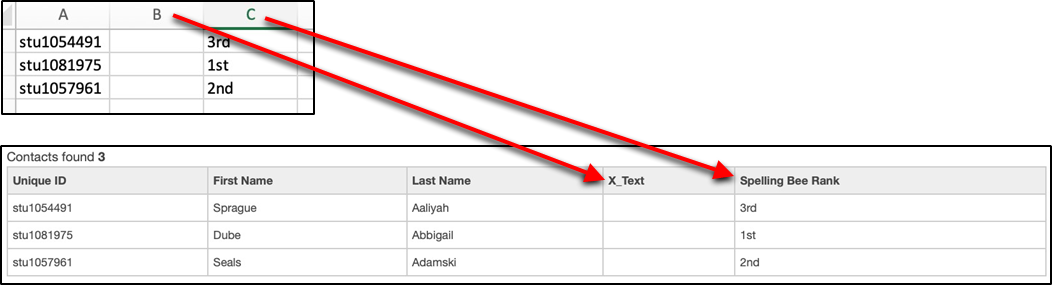
The Student IDs were not listed under column A in your .CSV file. Ensure that the student IDs are under column A in your .CSV file. If you list the student IDs under any other column, the other custom data will not fall under the correct field.
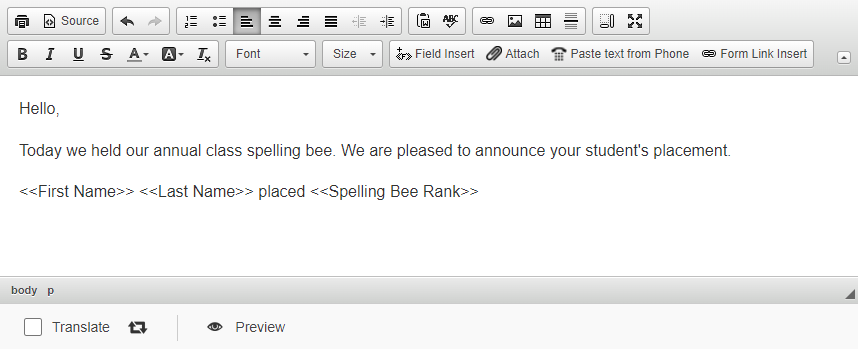
Using Custom Data Fields in a Broadcast
The user can now use the custom data in a phone, email, or SMS type message. Using the example of Spelling Bee Rank, when creating their message, they can reference the Spelling Bee Rank field from the Field Insert option under the message editor and add it to their message: