
The following guide outlines the ways that SchoolMessenger interacts with PowerSchool, explains how teachers can send a broadcast in Communicate and discusses the restrictions that are placed on teacher accounts.
SchoolMessenger Plugins in PowerSchool
The SchoolMessenger Plugin for PowerSchool adds two specific links to the PowerSchool interface. Under the Functions section, it adds the Message Sender option. Under the Applications section, it adds the SchoolMessenger option.
Admin Single Sign-on Link
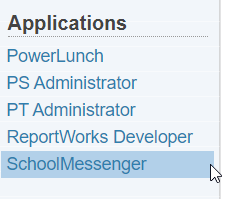
As a user of the admin portion of PowerSchool, there should be a link available on the left-hand navigation menu, under the Applications section.
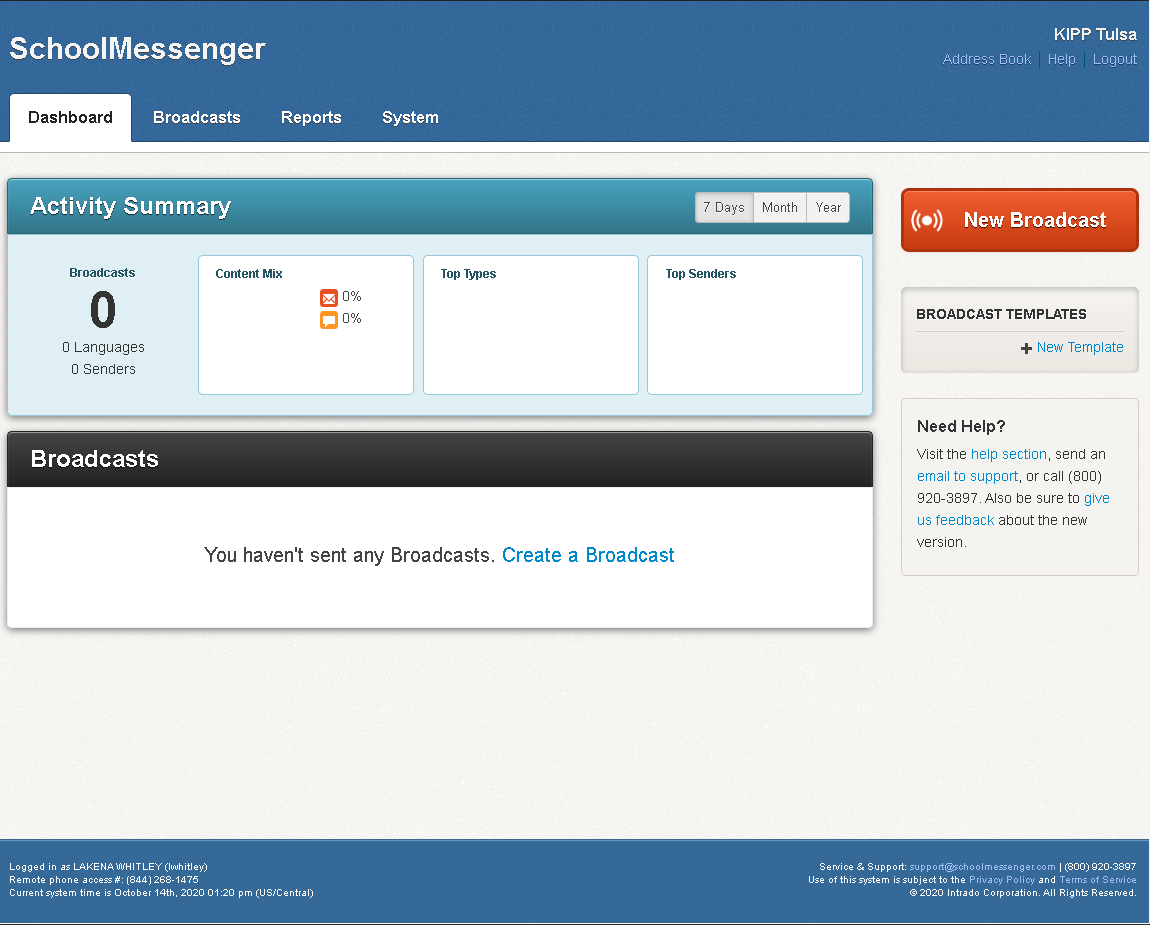
Clicking this link will open a new window, and sign you in to SchoolMessenger automatically, placing you on your dashboard. This can be helpful if you need to create lists or messages ahead of time, or if you need to view reporting after a broadcast.
Student or Staff selection and Message Sender Link
The other function added by the SchoolMessenger plugin is the ability to use PowerSchool’s built in student selection and then bring those selected records directly into the recipient list of a broadcast. *Note: The selection is designed for students only, Staff may be added if the user has access to them via an additional list in the broadcast builder.
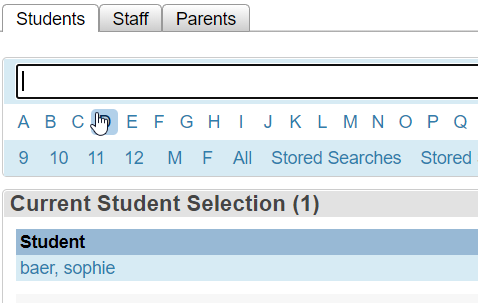
Make a selection from the student screen:
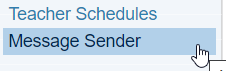
Under the left-hand navigation menu, locate the Functions section:
Click the link under the Functions section labeled Message Sender:
This should then initiate a guided process, within the PowerSchool system, where the ID numbers of your selected records are cross referenced against the IDs loaded into SchoolMessenger, and those matched ID numbers are made recipients of your broadcast.
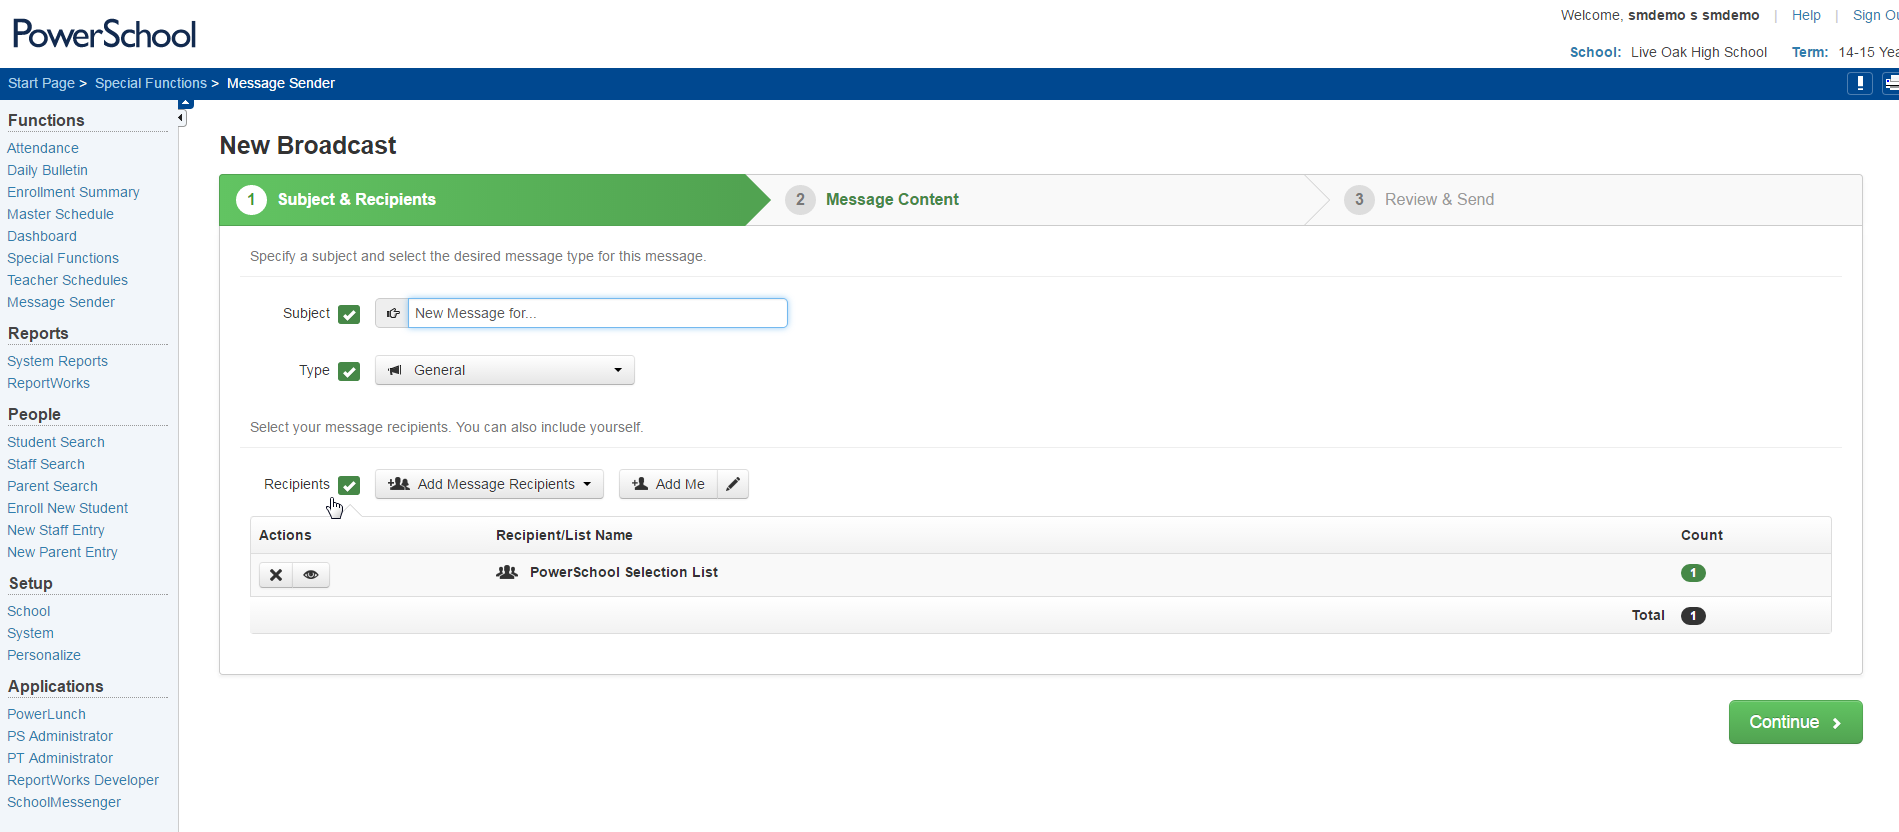
In that first step, you also select the broadcast type to use, and also name the broadcast for reference in the system later on, if you need to look up a report for instance.
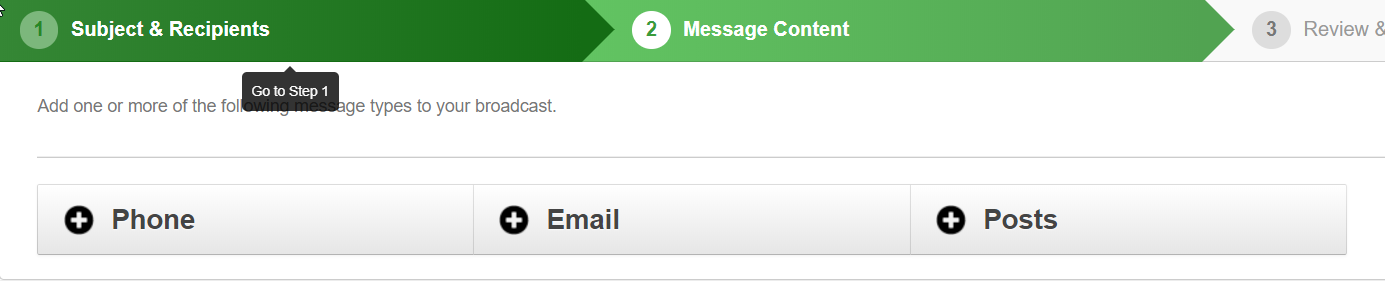
You then proceed step by step, using the Continue button at the lower right, until complete. The second step is message content, where you would click on each type (Phone, Email, and so on) of message content you want to create, and then compose the content for that particular medium. *Note: This will vary based on user profile permissions.
Third and final step is a time to pause and review broadcast settings (Am I sending this in the correct broadcast type? Does the broadcast subject make sense and would be easily locatable in the future? Is the recipient count correct to what I’d expect?) as well as adjust some broadcast options. You also have the option here to send your broadcast immediately, or schedule it for a future date and time.

Using SchoolMessenger as a Teacher
Information on Teacher Accounts
Teachers are restricted to only seeing their sections via the section data from PowerSchool. Teachers are also only able to use the Teacher broadcast type and, by default, are only able to send emails, however this profile restriction can be changed by an admin. This is only if you are allowing your teachers to login to the website to send one-way notifications to parents. If you are looking for two-way communication, that is all done via the app.
Teacher accounts are not able to be edited within Communicate as the data is pulled directly from PowerSchool based on Staff Status and Status. If a user is assigned the Teacher role in Communicate, and should not be, their account needs to be modified in PowerSchool (data feed). Once this happens their account will become disabled and we (admin/support) will be able to edit the account, once done with the changes we can enable the user with the new permissions.
Note: This normally happens as a user is listed in PowerSchool with multiple profiles and they are all active, when we process the staff data to create teacher user accounts, the staff status determines if they should have a teacher account and the status field indicates that they are active. If the user requires both types to be active, there is a way around this, please contact Support for assistance.
Teachers will be able to use the sections from PowerSchool to select their students. The teachers are only able to send messages to the students that are connected to their account via the section data.
Teachers will be able to use the SchoolMessenger link to login to the website, however they do not have permission to make any modifications to their account. If any changes are needed, they will need an admin to assist them with these changes.
When a Teacher logs in they are presented with the normal SchoolMessenger Communicate screen, but with fewer options.
Sending Broadcasts as a Teacher
Start in PowerSchool and click the SchoolMessenger link available to login to the website.
Click the New Broadcast button.
Enter a Subject for the message you are sending.
Click Add Message Recipients and choose Class Sections.
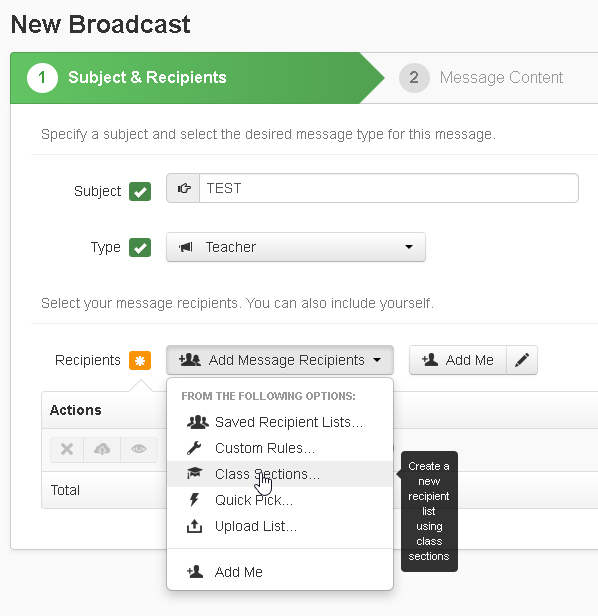
Select the appropriate school from the drop-down, then select the section(s) you want to send your message.

Click Add Recipients.
Note: You do not have use the sections that are prepopulated for you. You can make selections in PowerSchool and utilize the Message Sender to send messages via SchoolMessenger. However, you will still be restricted to only seeing the students who are enrolled in your classes via SchoolMessenger.

Click Continue.
Click the Email or SMS section and populate your message details.

Click Save and then Continue.
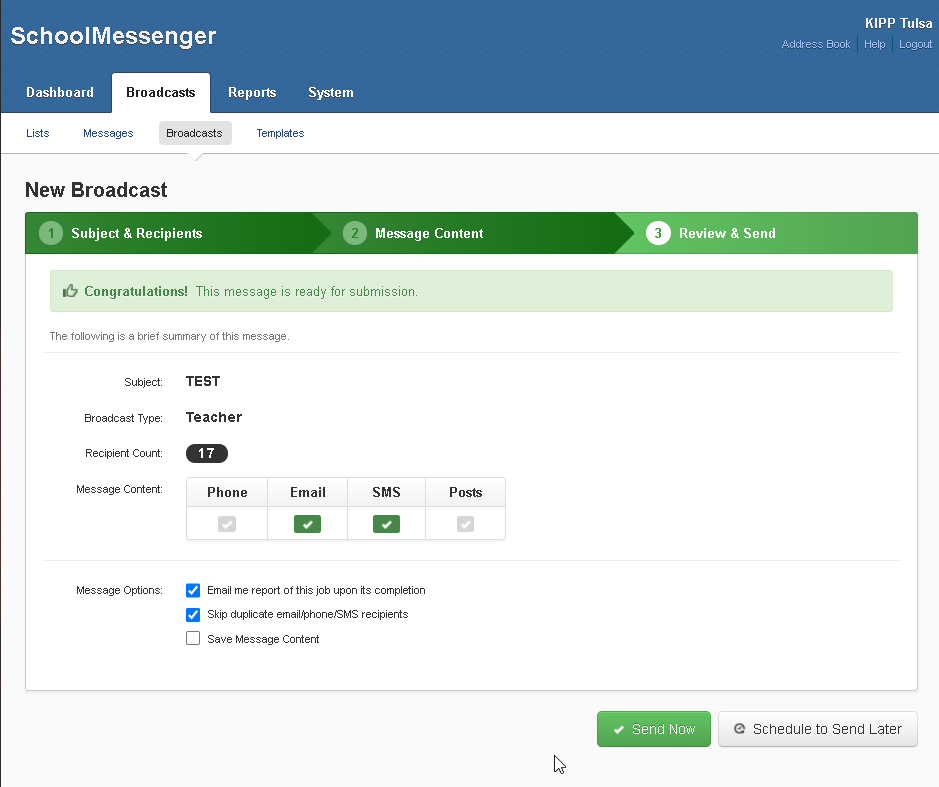
Review your message and choose to Send Now or Schedule to Send Later. *Note: SMS will only show if allowed for the Teacher profile type and if we entered content into the message.