
Due to recent policy changes, Google and Apple require that you create your own developer account to be used in conjunction with any applications created on your behalf. The benefit of this is once you have the developer account, the account will always be tied to your school or district.
This guide will cover how to set up Google Play and iTunes developer accounts. These will be required in order to publish your custom application.
Prerequisites
Before setting up your Google Play and iTunes developer accounts, make sure you have the following:
-
A credit card
-
The D-U-N-S number for your organization.
-
The EIN/Tax ID for your organization.
-
A CustomApp developer email address from SchoolMessenger. If you have not received this already, please contact your Project Coordinator or Technical Support.
There is also a $25 cost required for creating a Google Play developer account. Apple charges a yearly $99 fee for an iTunes developer account, however Apple has a fee waiver program for educational, government and non- profit organizations.
Set up your Google Play Developer Account
Create a Google Account
Before setting up your developer account, you should first create a Google account. If your school/district is already using Google, you can create a generic account from admin.google.com. Otherwise, you can just go to https://accounts.google.com/SignUp and sign up for an account. Be sure to create a generic email address that can be shared with other users of your organization instead of making an account that is tied to a specific person.
Tip: Make sure to securely save your Google account information as you will need to sign into this account again in the future.
Create a Google Play Developer Account
Sign in to the user account you created, and then go to https://play.google.com/apps/publish/signup/.

Make sure you are signed into your new account. If you are not, click Sign in with a Different Account to sign in with your new account.
Review the Before you continue… section and confirm if you agree with the Google Play Developer distribution agreement.
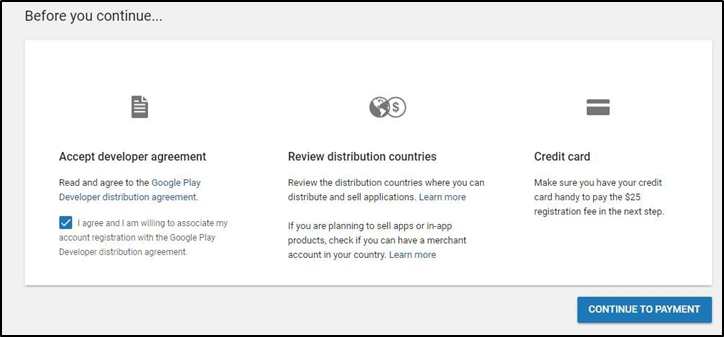
Click Continue to Payment.
Follow the on-screen instructions to add or select a payment method. Once you have entered the payment information, click Pay to proceed.
In the Complete your Account details section, fill in the rest of the requested account details.
When setting a Developer Name, you should use the full name of your school/district. If that name is already taken, make sure that the name you set is still one that is recognizably your school/district. This will make it easier for others to find your application.
Once you have finished setting up your account, you may have to wait a few days before you get the email confirming that your account has been set up.
Tip: You will need to wait for the confirmation email before proceeding to the next step.
Grant Access to your Developer Account
Go to https://play.google.com/apps/publish/ and sign in to your account.
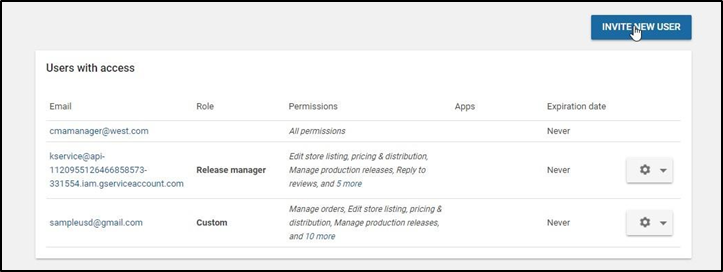
Click Settings and Users & Permissions. Click Invite new user.
For the Email field enter customapp@mobileapp.schoolmessenger.com.
Click the Role drop-down and select Administrator.
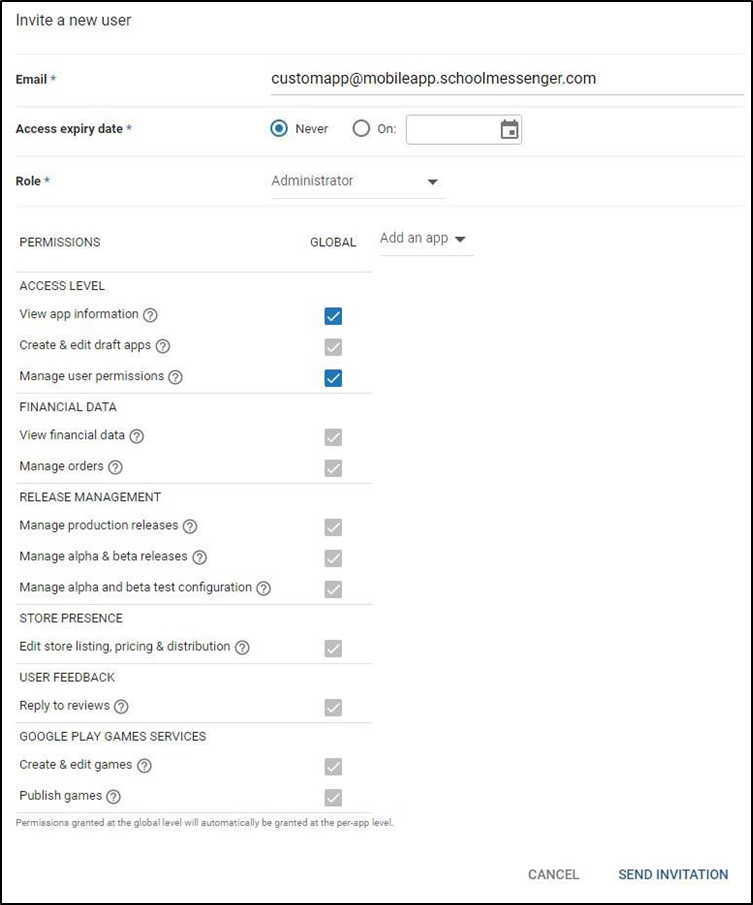
Click Send Invitation.
Obtain a Transaction ID
Go to https://pay.google.com and log in to your Google Play Developer account.
Click Activity.
There will be a list of any Activity associated with the account. In this list, you should see a $25.00 purchase for your Google Play Developer Token.
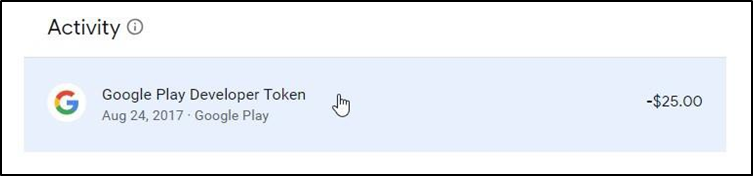
Click this item.
In the sidebar that appears on the right, you should see a Transaction ID.
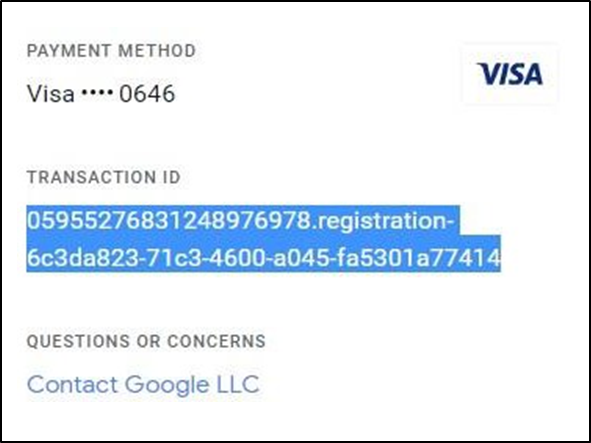
Highlight and copy the Transaction ID.
You will need to provide this Transaction ID to your Project Coordinator or Support Technician once you have finished setting up both your Google and Apple developer accounts. Instructions on how to do so are included in the Submitting Account Details to SchoolMessenger section of this guide.
Create a Google Developer Project
Go to https://play.google.com/apps/publish. Sign in with the credentials for your Google developer account. This is the account that owns your CustomApp application.
Click Settings on the sidebar.
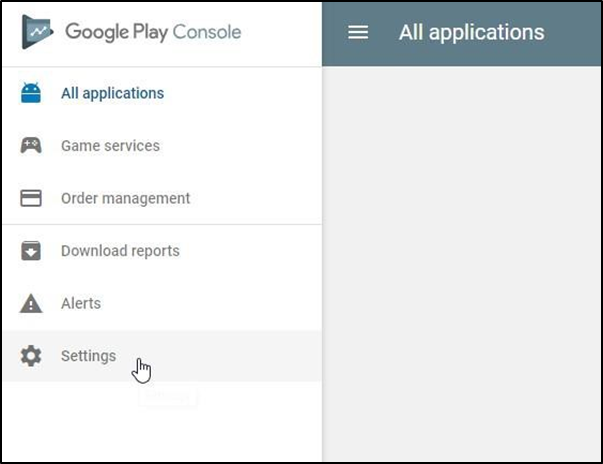
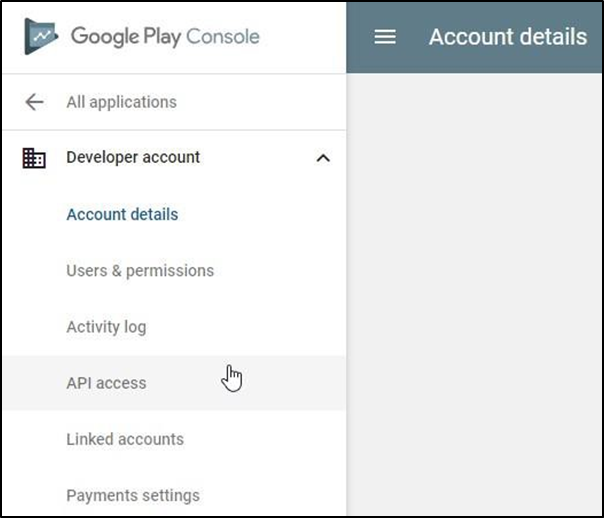
This will forward you to the Account Details section of the Developer account. In the sidebar, under Developer Accounts, click API Access.
Scroll down to the Service Accounts section of the page and click Create Service Account.
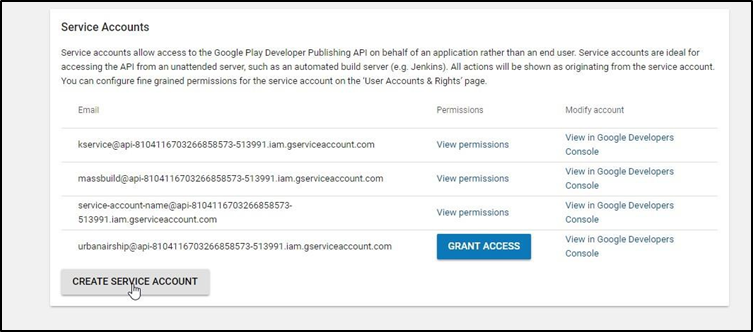
On the window that comes up, click the link to the Google API Console.
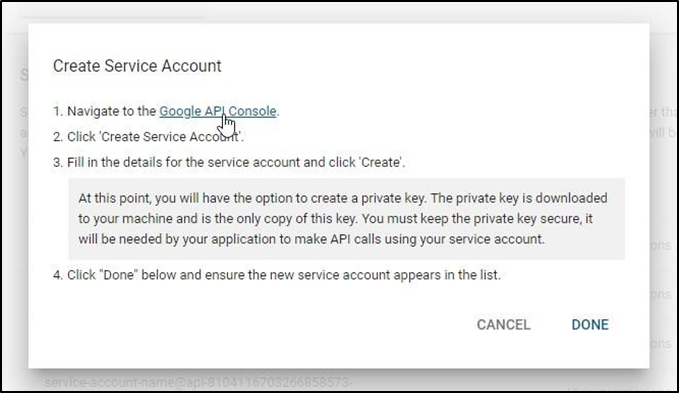
If a project has not already been created for your account, a Google Play Android Developer project will be created.
Assign Project Ownership
From the Google Play Android Developer project, click IAM on the sidebar.
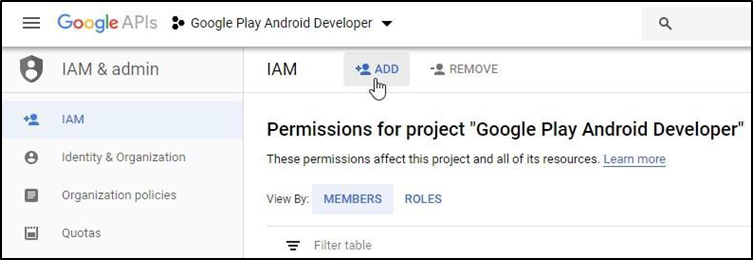
Click Add.
In the New Members field enter customapp@mobileapp.schoolmessenger.com.
Click the Select a Role and choose Owner in the Project menu.
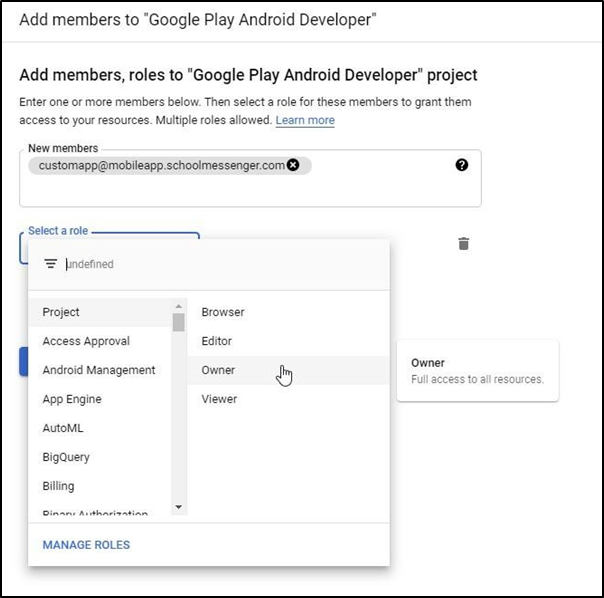
Click Save.
Set up your iTunes Developer Account
Create an Apple ID
Go to https://appleid.apple.com/account#!&page=create.
Fill out your account information. For the email address, use the email address for the account you created when signing up for a Google Play Developer account.
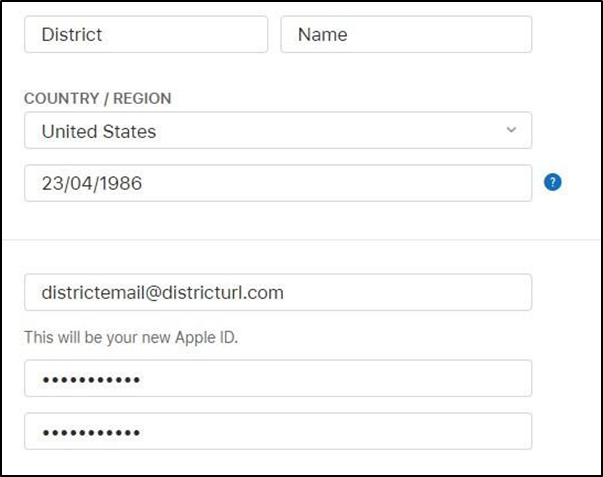
When filling out the security questions, use questions that other admins at your district will also be able to answer or save the answers in a secure location for possible future use.
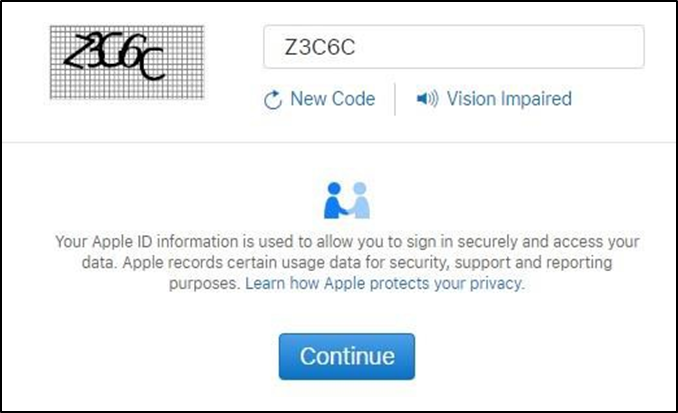
Enter the Captcha at the bottom of the page and click Continue.
A verification email will be sent to your email address.
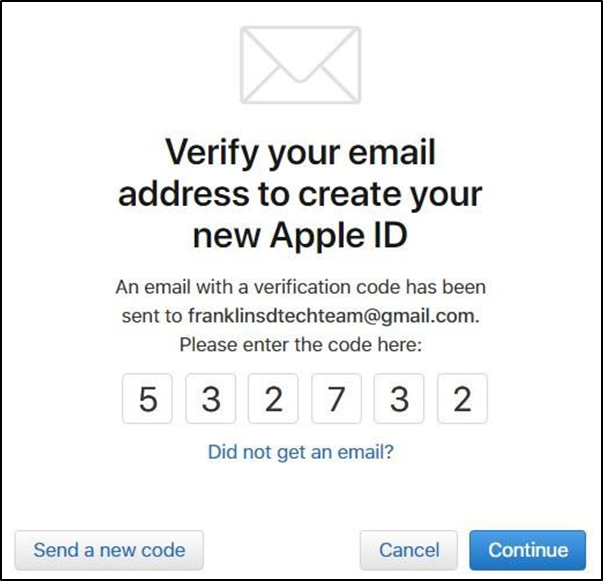
Fill in the verification code from the email and click Continue to finish creating your new Apple ID.
Enable Two-Factor Authentication
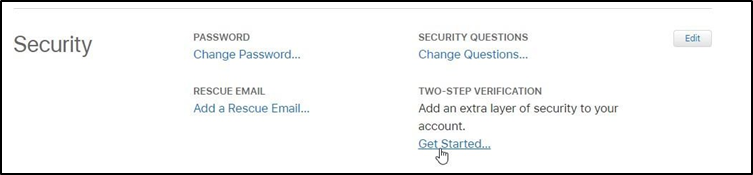
Before you can a sign up for the Apple Developer Program, you must enable Two-Step Verification on your account.
Go to https://appleid.apple.com/account/manage and click Get Started... under the Two-Step Verification heading.
When prompted, click Continue.
In the Add a trusted phone number window, use the drop-down menu to choose your country and then enter your phone number in the Phone Number field.
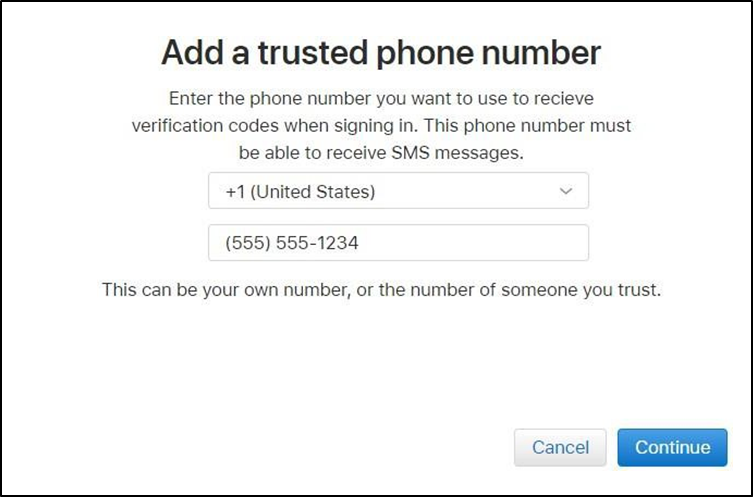
Click Continue.
A verification code will be texted to the phone number you provide.
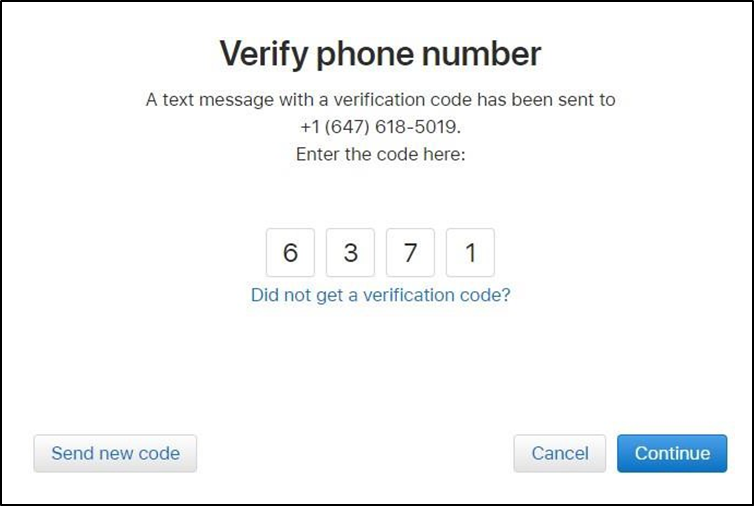
Enter the verification code and click Continue.
If you have any Apple devices, you can also add these as trusted devices if you wish. If you do not have any devices you wish to add, simply click Continue.
You will now be given a Recovery Key.
Save this key in a secure location so that you can regain access to your account should the need arise.
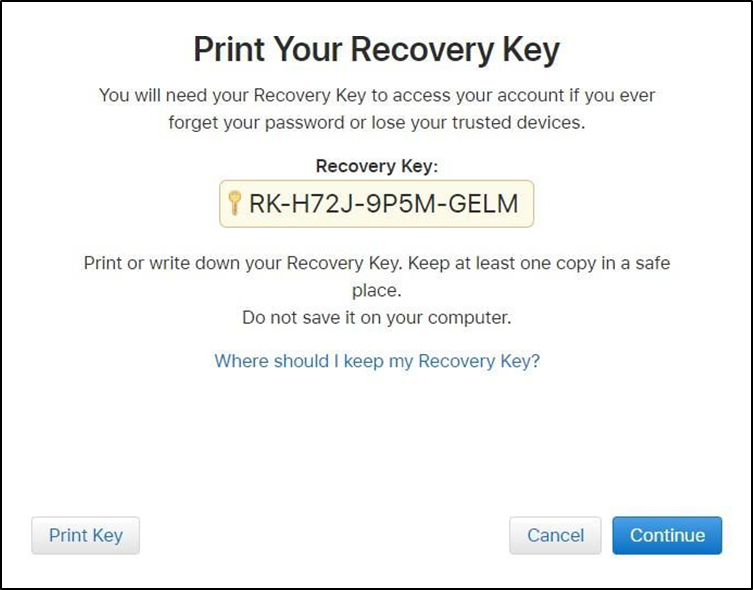
Click Continue once you have saved your key.
Apple will then make you enter the Recovery Key to make sure that you actually did save the key in the previous step. If you hadn’t done so, click Go back and you can see the key again.
Re-enter the key in the Recovery Key field.
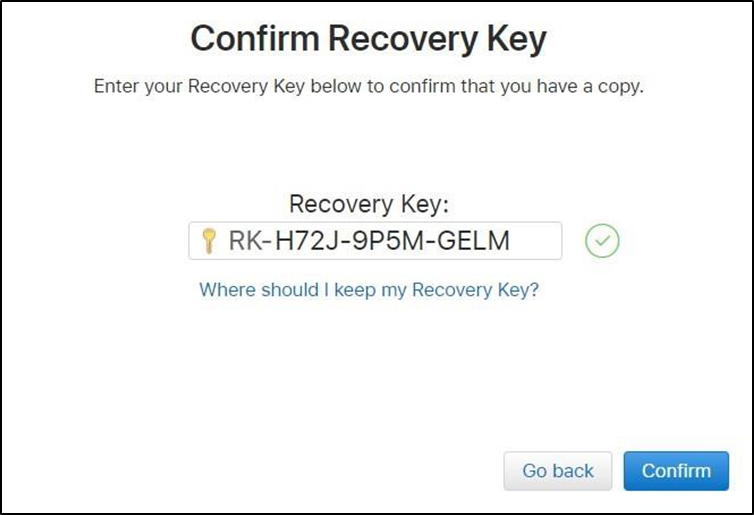
Click Confirm.
Review Apple’s information on two-step verification.
To confirm you have reviewed the information, check the I understand the conditions above box.
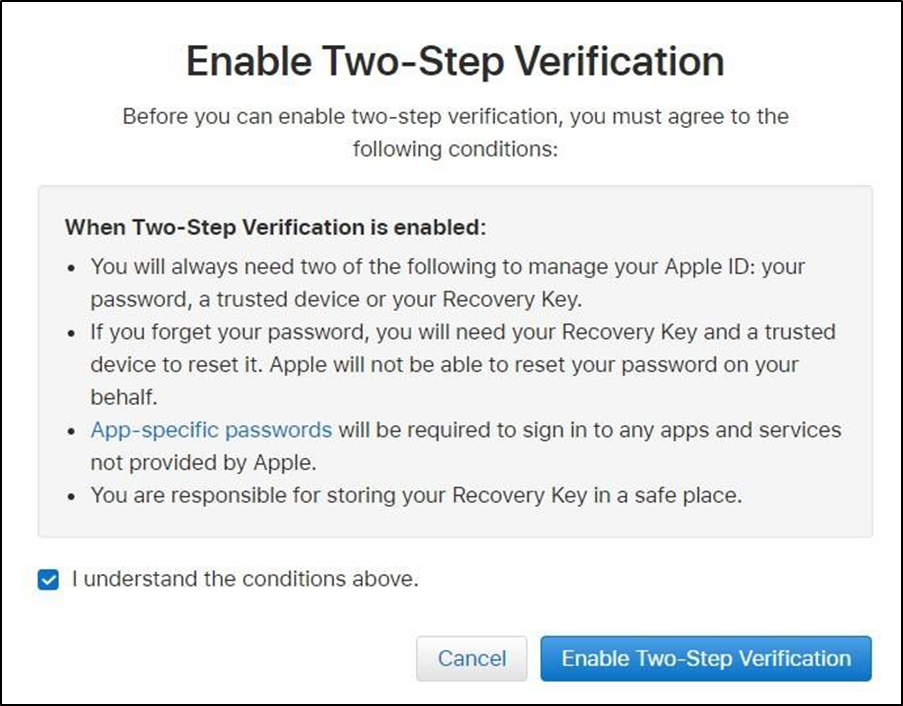
Click Enable Two-Step Verification.
Two-Step Verification is now enabled on your account.
Sign up for the Apple Developer Program
Go to https://developer.apple.com/ and click on Account.
Sign in with your Apple account.
Review and agree to the Apple Developer Agreement.
If you wish, you can also check the option I'd like to receive marketing emails to stay up-to-date with Apple Developer news.
Click Submit.
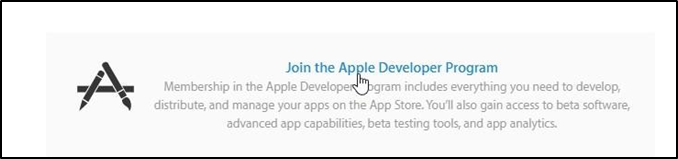
Click Join the Apple Developer Program.
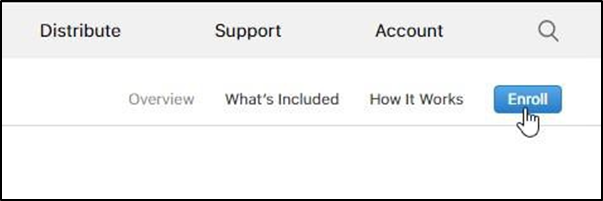
Click Enroll.
Review the information on what you will need to enroll and click Start Your Enrollment. Click the I develop apps as drop-down and choose Accredited Educational Institution.
Tip: You must select Accredited Educational Institution. If you choose a different option, you will not be able to properly complete some of the steps outlined in this guide.
Review the prerequisites needed to enroll and click Continue. Fill in the requested information and complete the enrollment.
Once the application has been submitted, you will have to wait for Apple to process your enrollment and send you an approval email. This process may take up to 24 hours.
Tip: You will not be able to complete the enrollment process until you receive an approval email.
Finalize your Enrollment in Apple Developer Program
Go to https://developer.apple.com/account/ and complete your payment information.
This is where you can apply for a waiver of the program fee. If your organization is an accredited educational institution, government entity or non-profit organization, you can apply to have the $99/year fee waived.
You can apply for the waiver by going to https://developer.apple.com/contact/membership-fee-waiver/ and filling out the application.
Note: For more information on waivers, see https://developer.apple.com/support/membership-fee-waiver/ .
At the time of this writing, the waiver is only available for the institutions within the US, but this may change in the future. For the latest information, check the link in the note above.
Tip: You will need to monitor the email address associated with your developer account. Apple will periodically send emails prompting you to review updated terms of service and to renew your developer account each year. Failure to do so may prevent you from being able to update your application and may also result in having to pay Apple to renew your account.
Grant Administrative Access to your App Store Connect Account
Go to https://appstoreconnect.apple.com/login and sign in with Apple ID.
Click Users and Roles.
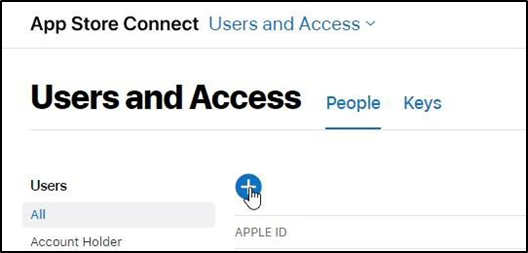
Click the (Add) icon to add a new user.
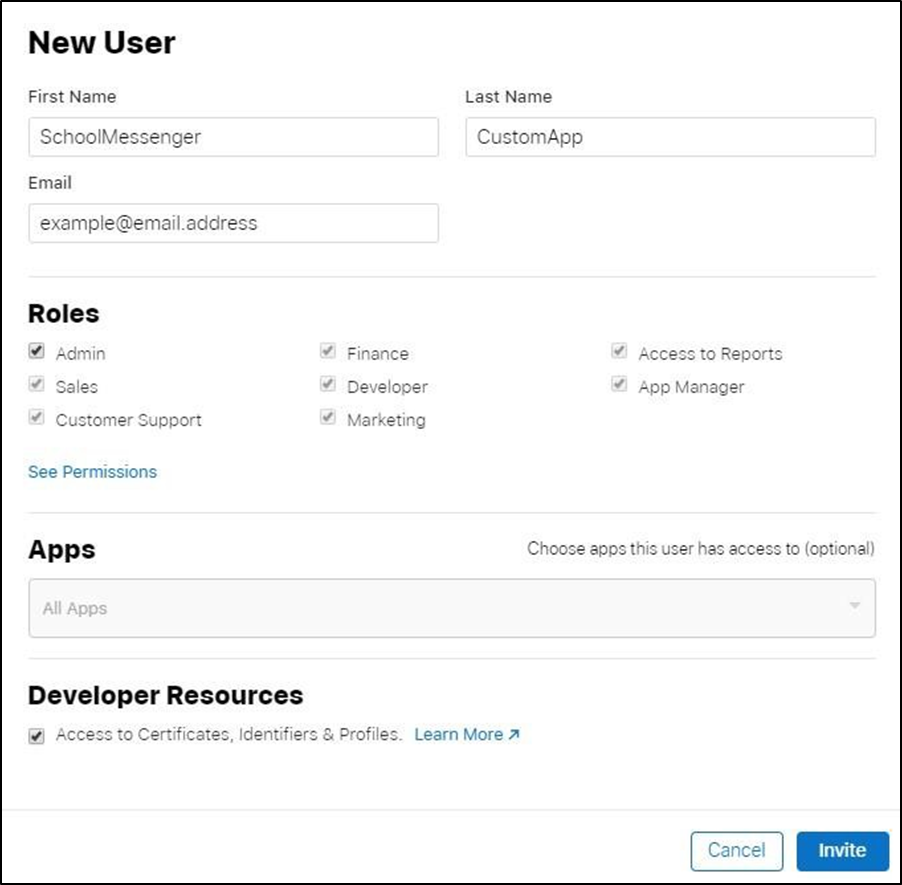
For the user information, use the following:
-
First Name: SchoolMessenger
-
Last Name: CustomApp
-
Email Address: Use the CustomApp developer email address provided to you by SchoolMessenger.
-
Roles: Check the Admin checkbox. This will check the other roles as well.
-
Apps: Leave set to All Apps.
-
Developer Resources: Check the option for Access to Certificates, Identifiers & Profiles.
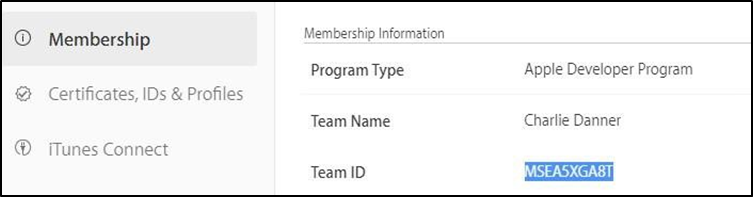
Obtain a Team ID
Go to https://developer.apple.com/account and log in with your developer account’s Apple ID and Password.
Click on Membership.
Highlight and copy the Team ID.
You will need to provide this Team ID to your Project Coordinator or Support Technician once you have finished setting up both your Google and Apple developer accounts. Instructions on how to do so are included in the Submitting Account Details to SchoolMessenger section of this guide.
Submit Account Details to SchoolMessenger
Once you have finished creating your Google Play and Apple iTunes developer accounts, you will need to fill out a form to provide SchoolMessenger with details they will need to transfer your CustomApp to your developer accounts.
To fill out the form, go to https://docs.google.com/forms/d/e/1FAIpQLScWT94DTkGMdfJNWKVHc7jK83_c0OoKT4xp5tihkGO5Py2fg/viewf orm?usp=sf_link
Details you will need to complete the form include your Google Transaction ID (see Obtain a Transaction ID), your Apple Team ID (see Obtain a Team ID) and your Apple ID (see Create an Apple ID).
Once you have finished filling out the form, click Submit.
You should get a confirmation message saying that, “Your response has been recorded. Please reach out to your Project Coordinator or Support Technician to let them know they can start the app publishing process.”
Contact SchoolMessenger
Once you have finished setting up your Google Play developer account and your iTunes developer account, added us to your accounts, and filled out the Developer Account Details form, please contact your Project Coordinator or Support Technician to let them know you have completed the process. We will review your form submission and begin the application publication/migration process.
Your Project Coordinator or Support Technician will then submit requests to Google and Apple to transfer ownership of your application to your developer accounts.
You will be provided with additional instructions to follow once the migration process begins.