Discussion forums are an excellent tool for quick and informative dialogue on various topics between groups of individuals. You can use them to publish course topics for your students to collaborate on, provide sections for discussion on group work, or answer questions your students may have in an organized, digital environment. This manual will guide you through setting up discussion forums and instruct you on using its many helpful features.
Add a Discussion Forum Page
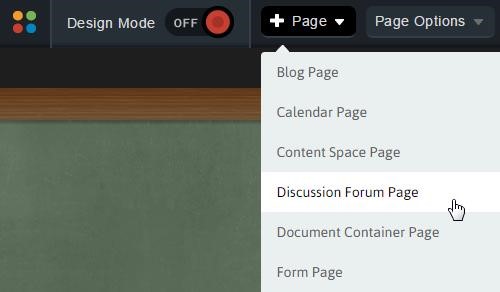
Select the page you would like to connect the Discussion Forum to (this will be the Parent Page) and select the Page option on the Administrative Toolbar. From here, select Discussion Forum Page.
Note: The Discussion Forum Page is not one of the default page types. If you are an administrator and you wish to use the Discussion Forum Page type, contact our support team or your project coordinator and we will be happy to enable this option.
Enter a name in the Page Name field for your new page.
The Page URL field will automatically be filled in. The Page URL is used to build the Friendly URL used to access the page. If you wish to make modifications to the Page URL, click the Lock icon and then you can change the text. Keep in mind that only alphanumeric characters, underscores and dashes can be used. Any other characters will be automatically removed.
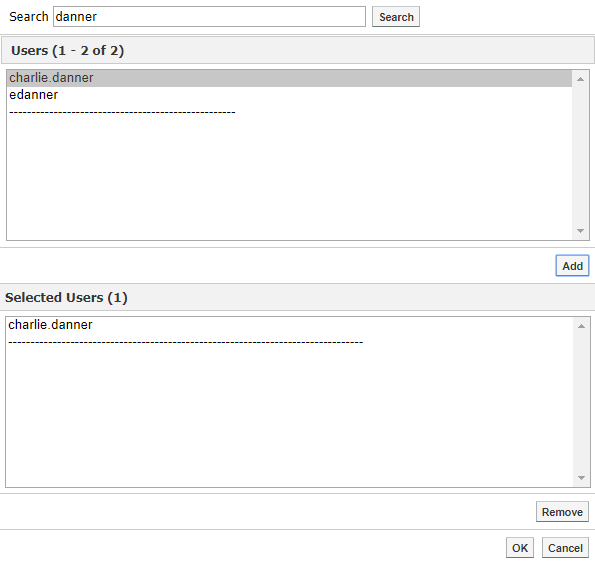
By default, you will be assigned as the Page Owner. If you wish to set someone else as the owner, click the Profile icon.
When the User Picker opens, choose the user you wish to make the owner, and click Add then click OK.
If you want to set the page as the user's homepage in their user profile, select Replace Page Owner's website with this page.
Note: On some sites, you may also have a Category drop-down that you can use to select a category for the page.
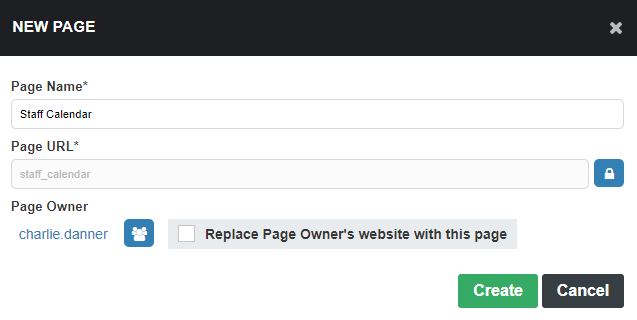
Click Create to create the Discussion Forum Page.
Edit your Discussion Forum
To change the name or status of your Discussion Forum, click the Manage Forum button.
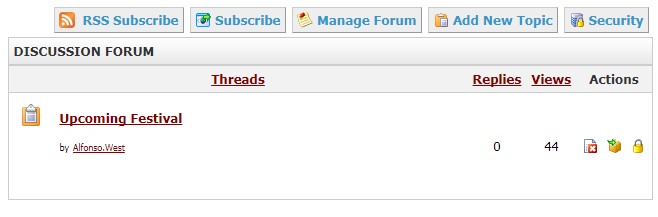
Toggle the visibility on your Discussion Forum through the Enabled field by selecting Yes or No, where No will hide your discussion from others. This option is changeable at any time.
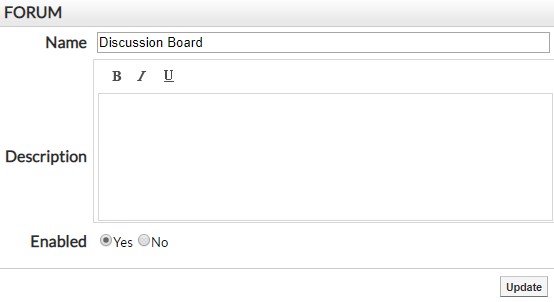
Make changes to the Name and Description of your Discussion Forum as desired. When you have finished, click Update.
Manage Topics
Create Discussion Topics
To create a topic click Add New Topic.

The Subject section displays the name of the topic while the Message field is where you should post the body of your discussion. Fill in the title and details of your topic.
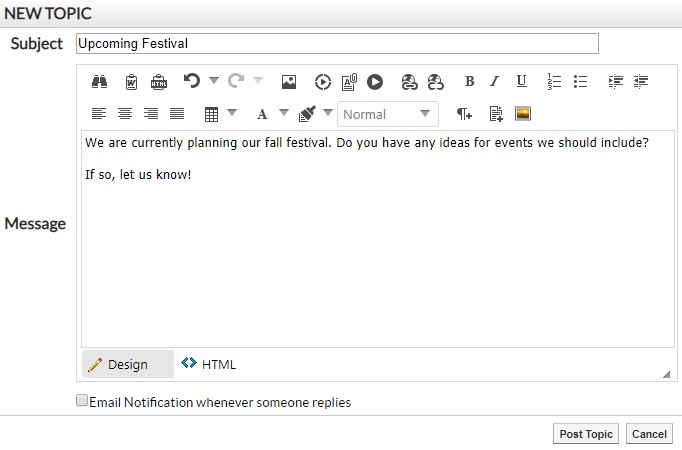
Click Post Topic when you have finished.
Note: You can choose to receive notifications to your email whenever someone responds to your topic. To do so, check the Email Notification Whenever Someone Replies box when creating your topic.
Reply to Discussion Topics
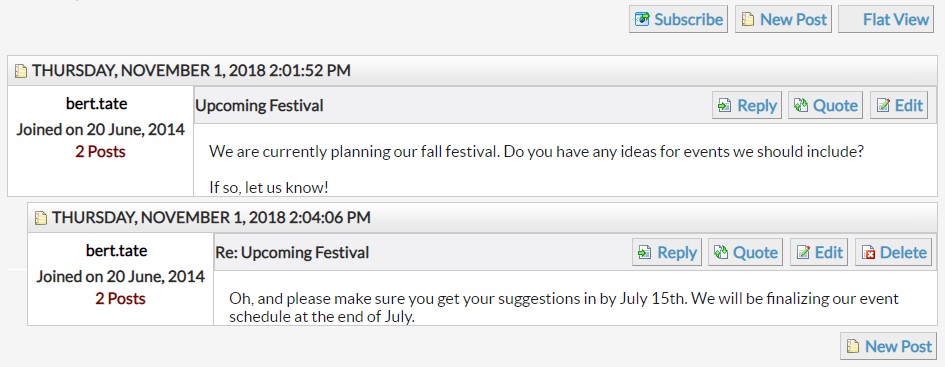
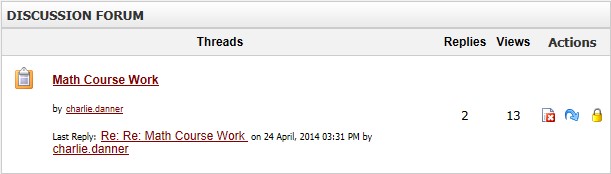
To respond to a topic posted on the discussion forum click the name of the topic.
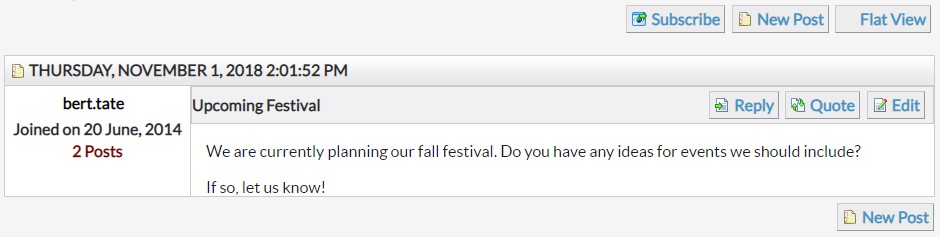
To respond to the original post, click New Post (there will be a button at both the top and bottom of the discussion topic).
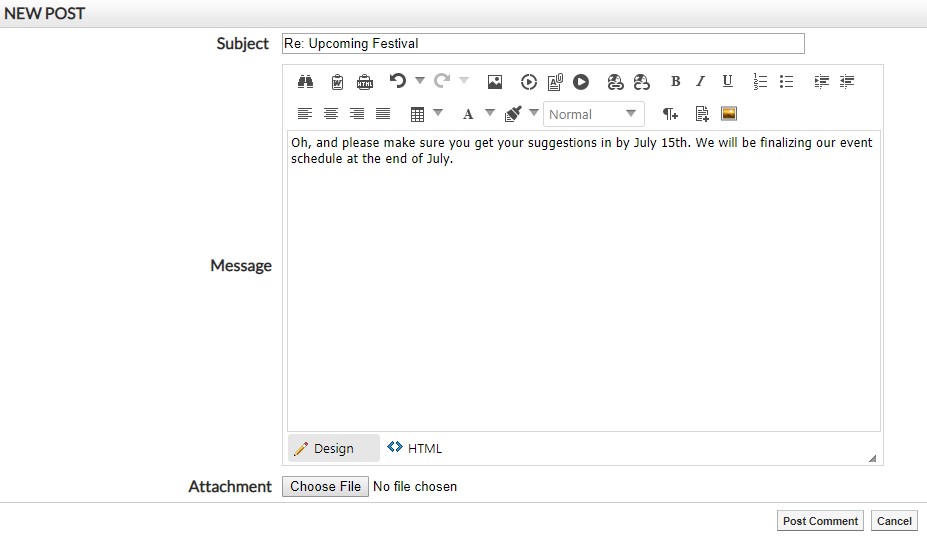
Compose your response in the Message field and then click Post Comment to publish it.
Alternatively, you may wish to respond to someone in the forum other than the original poster. To do so, click the Reply button, and repeat the steps listed above.
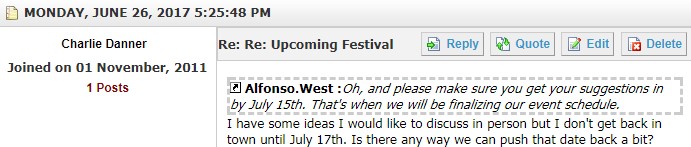
To quote someone when replying to, click Quote, and repeat the steps for posting a topic. It is often helpful to have the post of the person you are responding to included in your post.
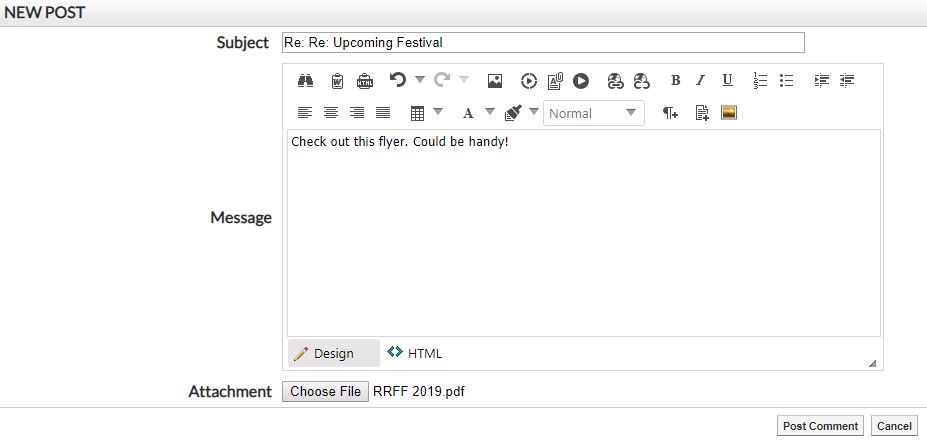
You can include a file from your computer to be posted along with your message. When creating a new post, click the Choose File button in the Attachment field.
Within the Choose File window, locate the file you wish to upload and click Open. When you are finished the post, click Post Comment to publish everything.
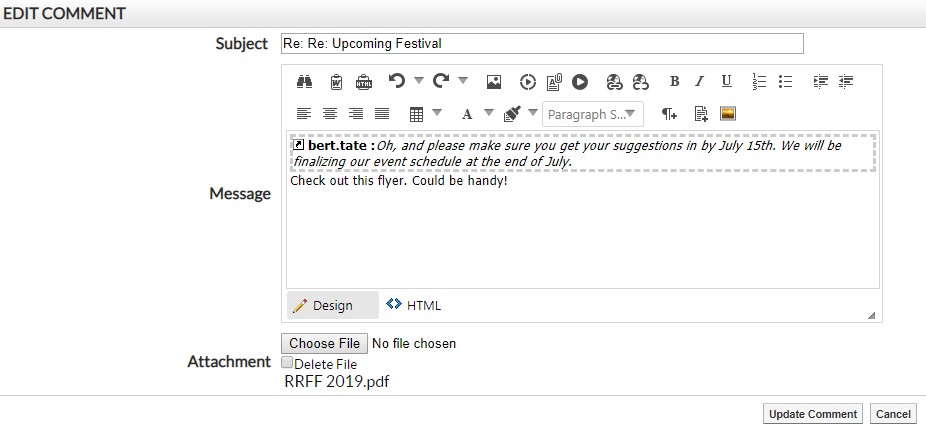
Edit Discussion Topics
To make changes to your post once it has been published, simply click the Edit button at the top right side of the post.

When you have finished making your changes, click Update Comment to publish it.
Note: Unless you have Write permissions on the discussion forum, you will only be able to edit your own posts.
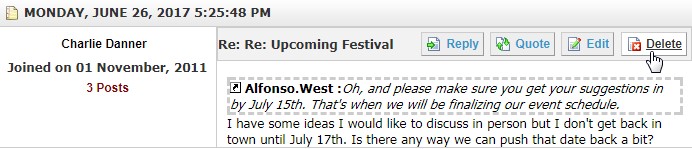
Delete Discussion Topics and Posts
If you want to delete a post after it has been published, click the Delete button at the top-right of the post.
Alternatively, if you wish to delete an entire topic thread, click on the Delete Page icon next to that thread.

Note: Unless you have Delete permissions on the discussion forum, you will only be able to delete your own posts. If you do not have delete permissions you will not be able to delete topic threads.
If you delete a post, all posts that are replies to that post will also be deleted.
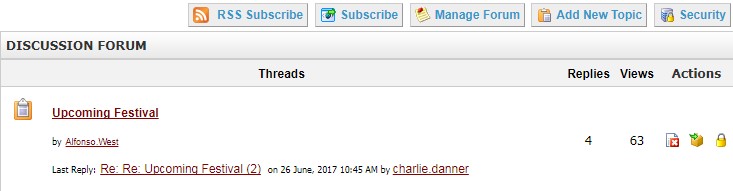
Archive Threads
Archiving a topic allows you to hide the topic from users without deleting it. This will keep the forum less cluttered. This also allows you to re-introduce the topic later if the information within it has become particularly useful to the participants of the forum.
To archive a thread, click the Archive icon.
If you wish to make it visible to the browsers of your Discussion Forum, click the Un-Archive icon.
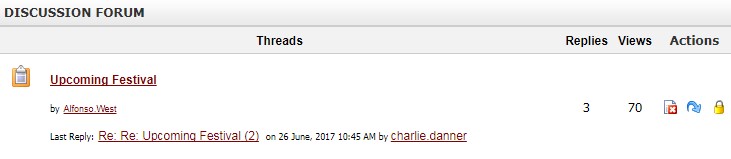
Lock Threads
Locking a thread prevents other users from posting within it but maintains the existing content in the forum. To enable the locking of a thread, click Lock icon.
Subscribe to a Forum or Topic
Users have the option of subscribing to the forum through email alerts or RSS feed.
To receive email alerts about new posts in the forum, navigate to the forum page and click the Subscribe button.
Fill out relevant information:
-
Title: The name of your alert.
-
Alert Type: Choose to either get alerts online, or email alerts. If choosing email, please fill in valid email address in the email address field. If you are viewing the page as a guest, you will not be able to choose online alerts as guests can only choose the email alert option.
-
Select Email Type: Html or Text.
-
Notification Time: Chose to get your alert as soon as an event is added or updated on the calendar, at the end of a day when an event is added or updated, or at the end of the week when an event is added or updated.
-
Security Measure: If you are a guest user, you will also be prompted to fill out a CAPTCHA to verify that you are a real person subscribing to the alert.
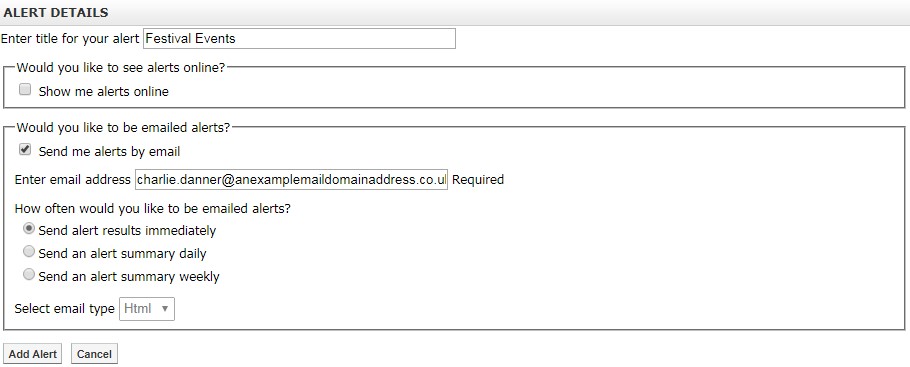
Once all fields have been filled out, click Add Alert.
To subscribe to a specific topic, click on the topic you want to follow and then click the Subscribe button.
Unsubscribe from a Discussion Forum or Topic
To unsubscribe from a forum or topic, navigate to the forum or topic you wish to unsubscribe from and click the Unsubscribe icon.
Note: You can also unsubscribe by clicking the unsubscribe link in the footer of each email alert you receive.
Subscribe via RSS Feed
You can also keep up to date with changes to the forum via its RSS feed. To view the RSS feed, click on the RSS Feed icon. An RSS feed will then be opened in your browser and you can then choose to subscribe to the feed with your RSS reader of choice.
Note:
Google Chrome, Mozilla Firefox, Safari and Microsoft Edge no longer support RSS feeds by default. To view the feed as rendered content in a browser, you will need to install a browser extension.
The RSS feed is only available on a forum-wide level. You cannot get an RSS feed to follow just one specific topic.
Permissions
You can designate which users can see, create, edit or delete topics within your forum. To do so, click the Security tab.
Direct Permissions
Within Direct Permissions you can assign security permissions on your forum to other users.
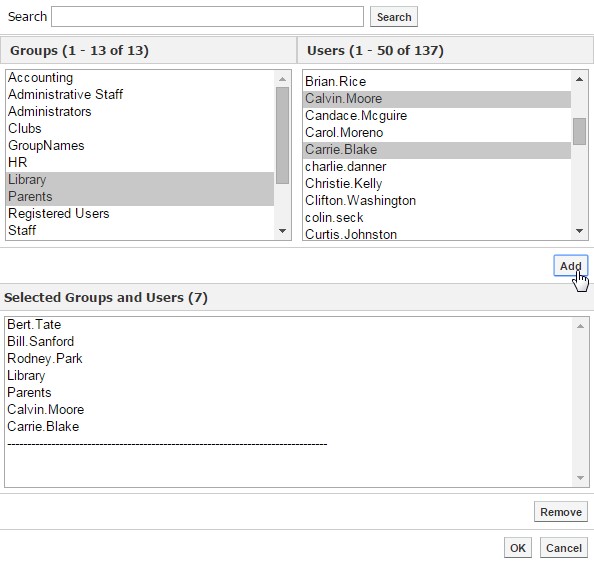
First, click Add to select the users to grant permissions to. A dialog window will open.
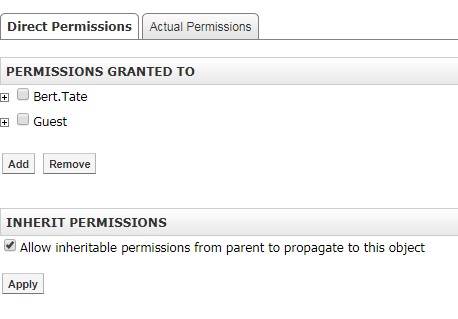
From this window select the users or groups you’d like to grant permissions to by clicking their name and clicking Add. When you have selected your users, click OK.
To individually assign permissions to each user, click on the + (Add) icon beside their name. From here you can assign specific permissions.
|
Permission |
What it allows you to do |
|
Create |
Can create topics. |
|
Delete |
Can delete topics. |
|
Read |
Can view the topics within the forum. |
|
Write |
Can make changes to topics within the forum. |
|
Full Control |
All of the above, as well as the ability to assign permissions to others. |
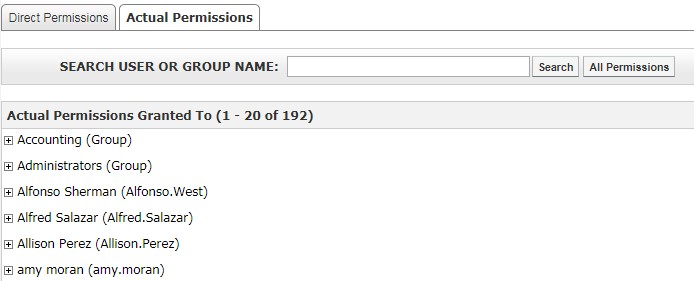
Actual Permissions
Actual Permissions allows you to view what permissions specific users have on your calendar. Users higher up the security hierarchy may already have permissions for your forum. Users with entire site permissions (or higher tiers of security hierarchy) may have permissions to your calendar if you have the Allow Inheritable Permissions From Parent to Propagate to This Object checkbox selected on the Direct Permissions tab. System Administrators will always have full control permissions for your calendar.