
The Photo Gallery is a great tool for administrators and users. This tool allows you to create multiple albums with dynamic features. The online Photo Gallery can be used to Showcase Sporting Events. Create team specific albums to showcase highlights of games.
-
Present Festivals: Create albums of yearly festivals.
-
Highlight Parks: Create albums showing off local parks.
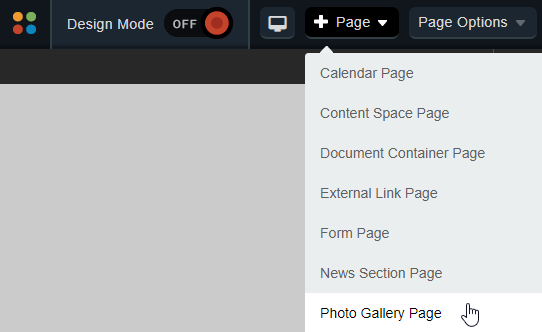
Add a Photo Gallery Page
-
Navigate to the page you would like the gallery to be published under.
-
Go to Page and select Photo Gallery Page.
-
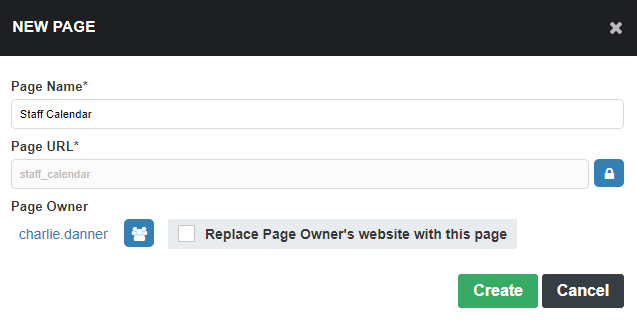
Enter a name in the Page Name field for your new page.
-
The Page URL field will automatically be filled in. The Page URL is used to build the Friendly URL used to access the page. If you wish to make modifications to the Page URL, click the Lock icon and then you can change the text. Keep in mind that only alphanumeric characters, underscores and dashes can be used. Any other characters will be automatically removed.
-
By default, you will be assigned as the Page Owner. If you wish to set someone else as the owner, click the Profile icon.
-
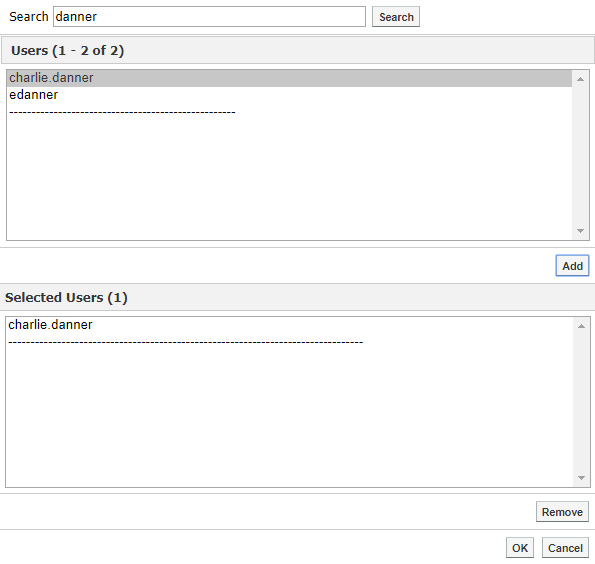
When the User Picker opens, choose the user you wish to make the owner, and click Add then click OK.
-
If you want to set the page as the user's homepage in their user profile, select Replace Page Owner's website with this page.
-
Click Create to create the Photo Gallery page.
Note: On some sites, you may also have a Category drop-down that you can use to select a category for the page.
Add a Photo Album
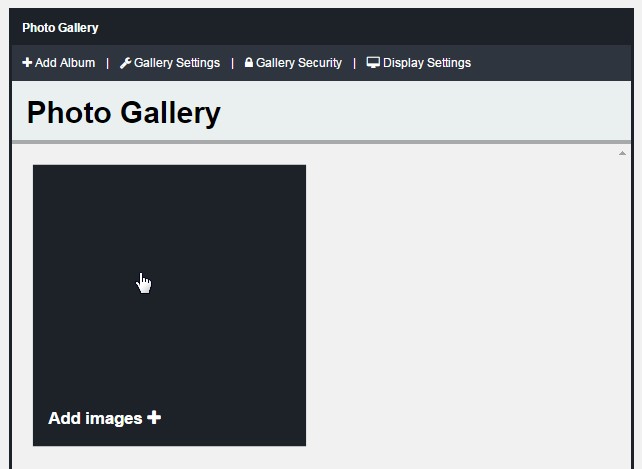
If there are no existing photo albums in the Photo Gallery portlet, you can create a gallery by clicking Add Images.
-
If there are already one or more albums in your portlet, you can click Add Album to create a new album.
-
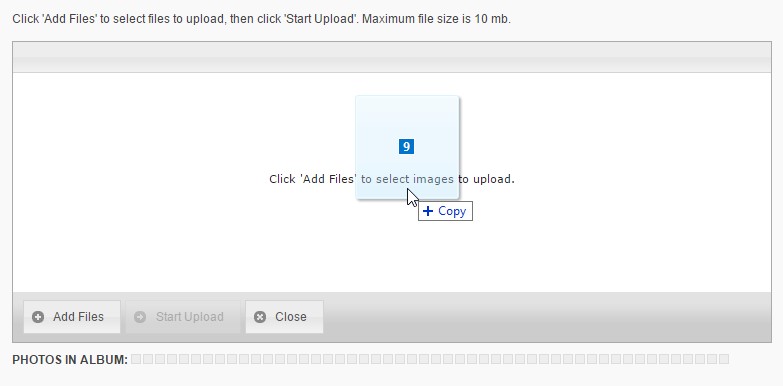
The Add Files interface will open.
-
You can use Add Files to select the files you wish to upload or you can drag and drop your images in to the Add Files window.
-
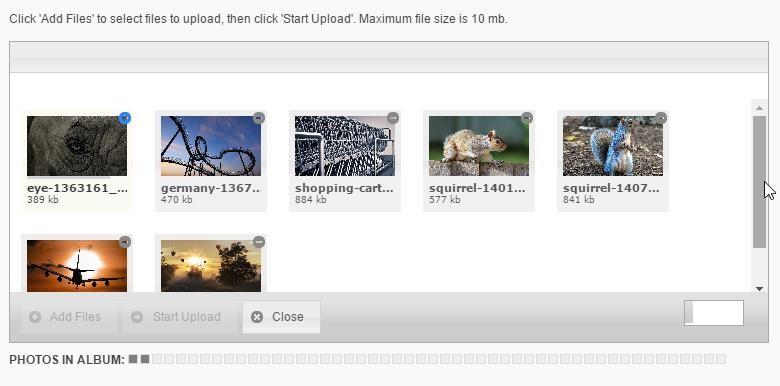
Once you have added all the files you wish to upload, click Start Upload to begin uploading the images to your site.
-
As each image is uploaded, it will be removed from the Add Files interface until all the images have been uploaded.
-
When the upload is complete, you will be brought to the Album Management interface.
Note: Each album supports a maximum of 50 images.
Manage a Photo Album
To manage a photo album, click on the album within your Photo Gallery portlet.
Note: When you finish creating a new album, you will be taken directly to the management interface for that album.
-
If you hover over an album, you will see a number of options that are available.
-
If you click on the album cover or click the Configure icon to bring up the Image Properties interface. For more information on working with a specific image, see the Manage Individual Images section.
-
To change the order of your albums, you can click the four-arrows (Order) icon. You can use drag and drop to rearrange the images into whatever order you prefer.
-
You can use the X (Delete) icon to delete any albums you wish to remove.
Set Title and Description
At the top of the album management interface, you will see fields for the Title and Description of your album.
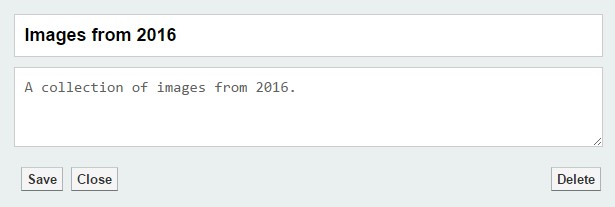
Enter the text you wish in these fields and click Save to confirm your changes.
Add More Images
If you want to add more images to an album, click Add images. This will bring you back to the Add Files interface. For more information on adding files, see the Add a Photo Gallery section.
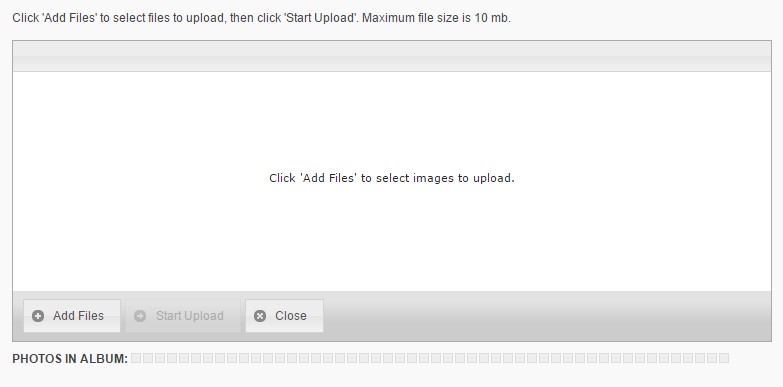
Image Management
From within an album, you can access the properties for each image, change the order of images and remove any images you no longer wish to use.
-
If you hover over an image, you will see a number of options that are available.
-
If you click on the image or click the Configure icon to bring up the Image Properties interface. For more information on working with a specific image, see the Manage Individual Images section.
-
To change the order of your images, you can click the four-arrows (Order) icon. You can use drag and drop to rearrange the images into whatever order you prefer.
-
You can use the X (Delete) icon to remove any images from your album.
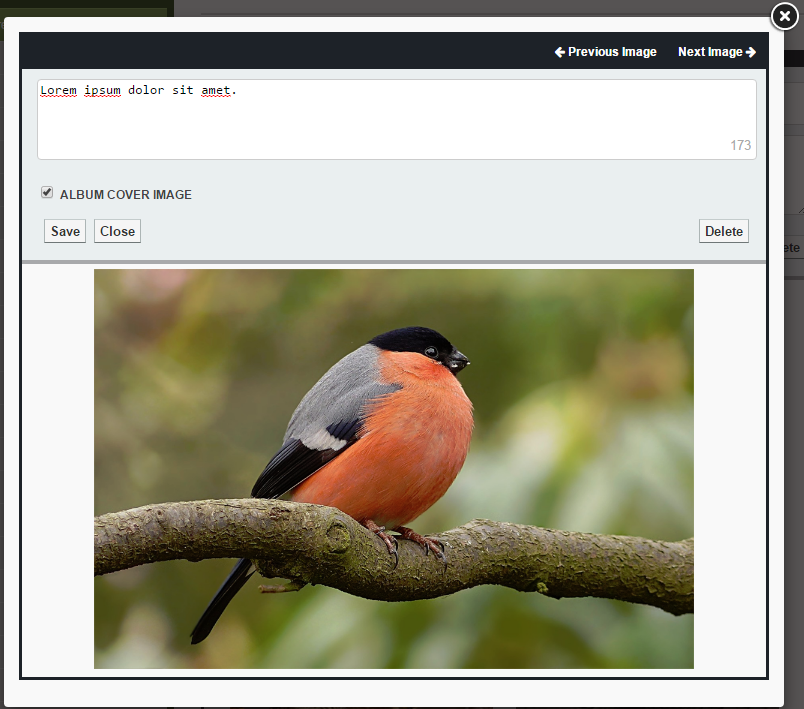
Manage Individual Images
To manage individual images, click on the image within the album. You can also click the four-arrows (Order) icon. This will bring up the Image Properties interface.
You can fill out a caption for your image.
If you wish, you can designate an Album Cover Image by checking the option. This image will then show on the photo gallery portlet when viewing your albums. If no cover image has been specified, each time the portlet is loaded a random image from within the album will be displayed.
-
Click Save to confirm your changes.
-
If you wish to remove an image, you can click Delete to remove the image.
-
You will be prompted to confirm your deletion.
-
Click Close or the X (Delete) icon of the interface to close the management interface.
Gallery Settings
-
To change the gallery settings, click on Gallery Settings.
-
You can specify a title and a description for the photo gallery.
-
To confirm your changes, click Save.
-
If you do not wish to make any changes, click Close.
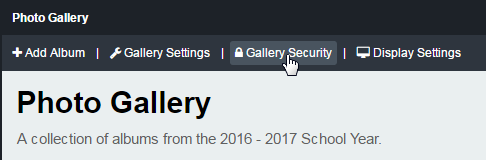
Gallery Security
To configure the security settings for the gallery, click on Gallery Security.
Set Administrators
-
To give a user the ability to create, delete and manage albums, click on the Roles tab and click the + (Expand) beside Photo Gallery Administrators.
-
Click the Add button to open the user picker interface.
-
A window containing system groups and users will appear. Select the users or groups you like to grant permissions to by clicking their name and clicking Add.
-
Click OK when you have selected your users.
Display Settings
-
To configure the display settings for when users view your gallery, click on Display Settings.
-
For the Album View, choose whether to display your images in a Slideshow Display or Grid Display. If you choose the Slideshow Display, you can configure the following options:
-
Transition Style: Choose between the Slide or Fade transition style for each time a new image is displayed.
-
Autoplay: Choose to have the slideshow images rotate automatically and specify the Transition Speed.
-
Show Controls: Show arrows that allow users to manually transition between images.
-