
The Schoology mobile app is designed to provide access to only certain features or settings. For features and settings not available on the app, you can use a computer or the browser on your device.
Sign Up
If you don’t already have an account on Schoology, you must sign up from a mobile browser at www.schoology.com.
-
Tap Sign Up.
-
Select Student.
-
Enter the access code provided by your instructor and tap Continue.
-
Enter your First and Last Name, an email address or username, and a password for your account.
-
Tap Register to complete.
Log In
If you already have a Schoology account, you can use the steps outlined in this document to sign in via the Schoology iOS app.
To create a new Schoology account, you'll need to open a mobile browser on your device and go to www.schoology.com.
Sign in to the Schoology Mobile App
Depending on how your organization has set up your account, there are various sign-in methods for the Schoology mobile app.
Check with your instructor or a Support Contact at your school if you are uncertain of your school’s sign-in setup.
-
Sign in via email address
-
Sign in via username
-
Sign in via custom domain
-
Sign in via Single Sign On (SSO)
-
Sign in via QR Code
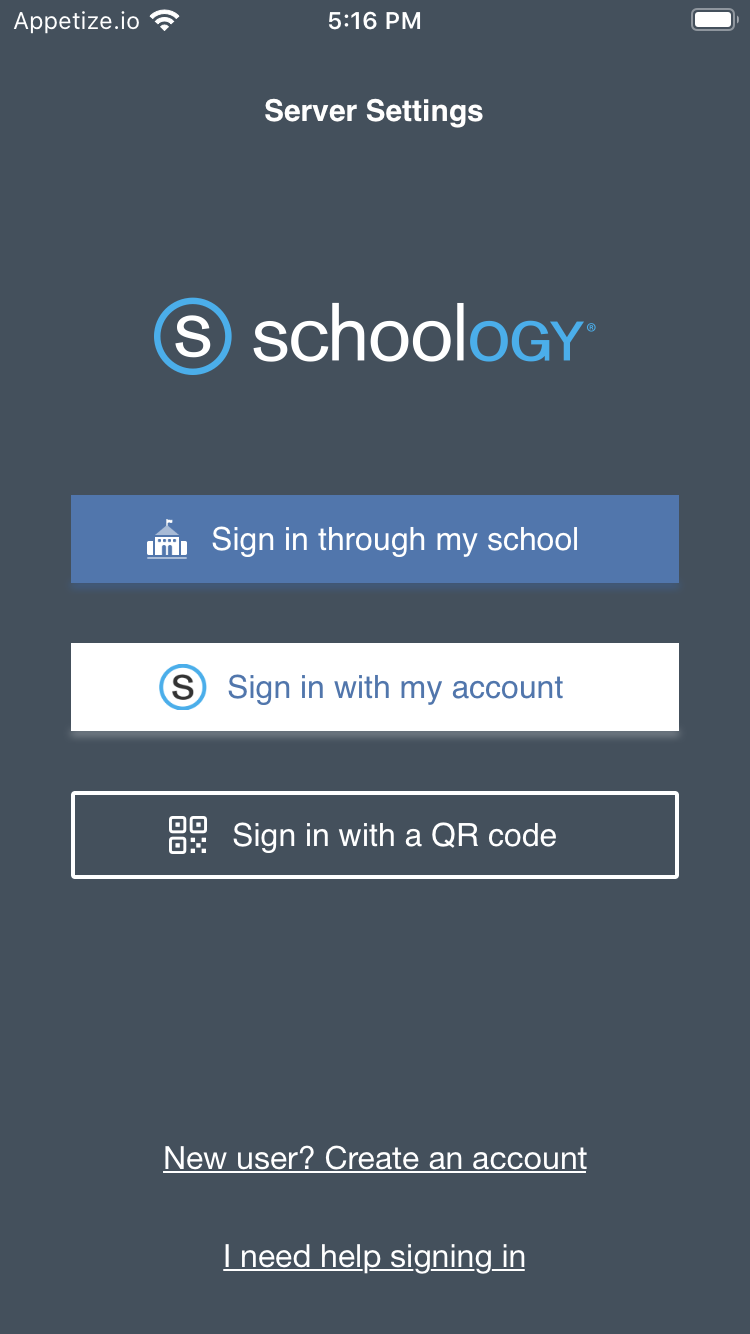
Sign in through my school
For users signing in via:
-
Email
-
Username
-
Custom domain
To sign in with your existing account, open the Schoology app on your mobile device:
-
Tap Sign in through my school to sign in through your school or district.
-
To Sign in through my school, use the keyboard to enter the name of your school or organization. As you type, matching choices populate in the list. If your school uses a custom domain (URL) on the web version, you can enter the domain in the search field.
-
Tap the name of your school or organization when it displays.
-
Enter the Username or Email associated with your account. If you can't remember the username or email address, check with your instructor or one of your Support Contacts.
-
Enter the password for your account. You can reset the password if you open https://app.schoology.com/login/forgot from a mobile browser.
-
Tap Sign In to complete.
If your school is located in Canada (you use the web browser sign in app.schoologyca.com), tap I sign in to app.schoologyca.com to access the Schoology Canada instance of the app.
Once you sign out of the Schoology app, the same school or organization displays as the default the next time someone opens the app on the mobile device. This makes it easier to sign in on your own device and is useful if your school uses shared devices.
Tap the arrow to continue to sign in through your saved school. To change the school or organization to sign into, tap the search field, and begin typing the new name. Matching choices will populate as you type.
For users signing in via:
-
Single sign-on (SSO)
To sign in with your existing account, open the Schoology app on your mobile device.
If you are are not included in the school’s single sign-on method (SSO), choose to Sign in with my account instead.
-
Tap Sign in through my school to sign in through your school or district.
-
To Sign in through my school, use the keyboard to enter the name of your school or organization. As you type, matching choices populate in the list. Organizations using single sign-on sign in have a green dot displayed next to their title.
-
Tap the name of your school or organization when it displays.
-
Tap Go To SSO. The SSO login screen displays automatically. If you use Google SSO, skip to Step 6.
-
Enter the username or email address and password associated with your account to complete sign in. If you can't remember your sign in credentials, check with your instructor or a Support Contact at your school.
-
Follow the remaining steps if you use Google SSO. If you use Google SSO to sign in to Schoology, do not tap Sign in with my account; this takes you to a Schoology email and password sign in page instead of the Google sign in screen. Users who are not part of the organization's SSO can choose this option instead.
-
If this is your first time signing in, enter the email address connected to your Schoology account. If you’ve previously signed in on the device, tap the name of the auto-populated account that you use to sign in to Schoology. If you select the wrong account in this window, you will have to close the Schoology app and log out of the incorrect Google account from the internet browser on your mobile device before you can complete the sign in process.
-
Enter your password and tap Next. This will log you into both your Google account and into Schoology. If you sign in using an SSO and are using a shared device, be sure to log out of your account on the mobile browser when you log out of Schoology. For example, if you use a Google SSO, navigate to Google on a mobile browser and log out of your Google account. Logging out of Schoology will not log you out of your Google account.
-
Tap Approve to authorize the Schoology mobile app to access your Schoology account. Click Deny if you do not want to authorize the app. You will not be able to use the mobile app until you have approved the app to access your account.
The next time someone opens the Schoology app on the mobile device, the same school or organization displays as the default, including your SSO screen. This makes it easier to sign in on your own device and is useful if your school uses shared devices.
If you sign in using an SSO and are using a shared device, be sure to log out of your account on the mobile browser when you log out of Schoology. For example, if you use a Google SSO, navigate to Google on a mobile browser and log out of your Google account. Logging out of Schoology will not log you out of your Google account.
Tap the arrow to continue to sign in through your saved school. To change the school or organization to sign into, tap the search field, and begin typing the new name. Matching choices will populate as you type.
Sign in with my account
For Enterprise users signing in via:
-
Email (if you aren't included in your organization's single sign-on method)
For users signing in via:
-
Email
To sign in with your existing account, open the Schoology app on your mobile device:
-
Tap Sign in with my account to log in through www.schoology.com.
-
Enter your email address and password and tap Sign In to complete.
Sign in with a QR Code
-
Tap Sign in with a QR Code.
-
If your device does not have camera access enabled for the app you'll receive the prompt, 'Schoology" Would Like to Access the Camera. Tap OK.
-
Tap Open Camera.
-
Once the camera is enabled, you’ll be prompted to scan your code.
Navigation Menu
The Schoology iPhone app navigation menu allows you to quickly navigate to each essential location on the Schoology App. Tapping the navigation menu in the top left corner of the screen gives you immediate access to:
-
Your profile (tap your name)
-
Messages
-
Notifications
-
Requests
-
Home
-
Courses
-
Groups
-
Resources
-
Grades
-
Calendar
-
People
-
Account Settings
-
Logout
This navigation menu is available on every page so that you can quickly navigate through the app from any point.
Course Dashboard
The Course Dashboard displays all your courses in a tiled list. You can access the Course Dashboard by tapping the tiled icon at the bottom of the Home screen.
Upcoming
From the Home screen, you can view Upcoming items and events by tapping the calendar icon.
Requests
The Requests area lists all of the course and group requests that are associated with your Schoology profile. Tap Accept or Dismiss, depending on the action you would like to take for each item. If you see a red dot next to the Requests icon in the navigation menu that means you have a pending request.
Courses
The Courses area lists all of the courses for which you are a member. You can also join a course from this area.
Join Courses
To join an existing Course:
-
Tap Courses from the navigation menu.
-
Tap the + icon on the upper right.
-
Enter the Course Access Code.
-
Tap Join.
The format of the course code should be XXXXX-XXXXX (10 digits). Once you join a course, you will begin receiving updates, grades, comments, and material notifications from the course. To manage which notifications you receive, see Notifications.
Depending on the settings in place at your school, you may or may not have permission to join Courses via Course Access Codes.
Tap Courses from the navigation menu to see a list of all of the courses for which you are a member. To access a course section, tap the name of your choice.
Depending on the settings in place at your school, the following information is available under a particular course section:
-
Materials (Assignments, Tests/Quizzes, Files/Links, Discussions, Albums, Pages)
-
Updates
-
Upcoming
-
Grades
-
Members
Menu (Elementary Experience)
In the Elementary Experience, tap Menu to access any Course or Section apps that also appear on the web version of Schoology.
iPads will display Course and Section apps within the navigation menu.
More
The More tab displays the Course and Section apps that also appear on the web version of Schoology.
iPads will display Course and Section apps within the navigation menu.
Materials
The Materials area lists all of the Assignments, Assessments, Tests/Quizzes, Files/Links, Discussions, and Pages in a particular course. To view any of the materials just tap the name of the item.
Updates
Course updates show the Recent Activity for a particular course section. For more information about Updates, please see Recent Activity.
Upcoming
View upcoming items or calendar events for a particular course.
Grades
The Grades displays the Midterm/Final grades and Grading Periods grades by grading category.
View Grades
You can view graded items by tapping the Grading Period they are located in.
Members
Tap Members at the bottom panel to access course members. The Members area allows you to view all of the members of the course in alphabetical order by last name. To view a member profile, simply tap the user’s name.
Depending on the settings in place at your school, you may or may not have access to view the member profiles.
To send a message to a course member:
Your school may or may not allow you to send messages in Schoology.
-
Tap the name of the course member you wish to message, you will be directed to their profile.
-
Tap the + sign in the upper right.
-
Type the subject of the message.
-
Type the content of the message.
-
Tap the Checkmark icon

Resources
Tapping Resources on the navigation menu allows you to access your existing Resources and Collections. For more information, please see our article on Resources.
The only materials that can be loaded in the mobile app are read-only materials:
-
Files
-
Links
-
Pages
All other items (Assignments, Assessments, Discussion, Test/Quiz, etc.) are listed as templates in Resources and can be accessed via the mobile browser or web browser.
Grades
The Grades area lists all of the courses for which you are a member. To access the grades for a course section, tap the section of your choice.
The following information is available under a particular course section:
-
Midterm/Final grades
-
Test/Quiz, Assessment, Assignment and Graded Discussion grades organized by grading period and grading category
Within the Grades for a particular course section, choose Final Grades or the grading period you would like to view.
To learn more about all the features in the Schoology iOS Mobile App, review the iOS Mobile App (Common Help Documentation).