
Choose Fill in the Blank to allow students to enter responses directly into blank text fields in the question.
Question setup
From Question Setup, enter your questions or instructions.
-
Use the Rich Text Editor to format text or insert images and tables.
-
Hover over icons to display tooltips.
-
Enter an underscore or click Insert Response to generate a blank.
-
Each underscore corresponds to an answer blank in Correct Answer Setup.
-
Add additional underscores to add multiple blanks in the question.

-
Correct answer setup
From Correct Answer Setup, enter the correct terms into the blank cells.
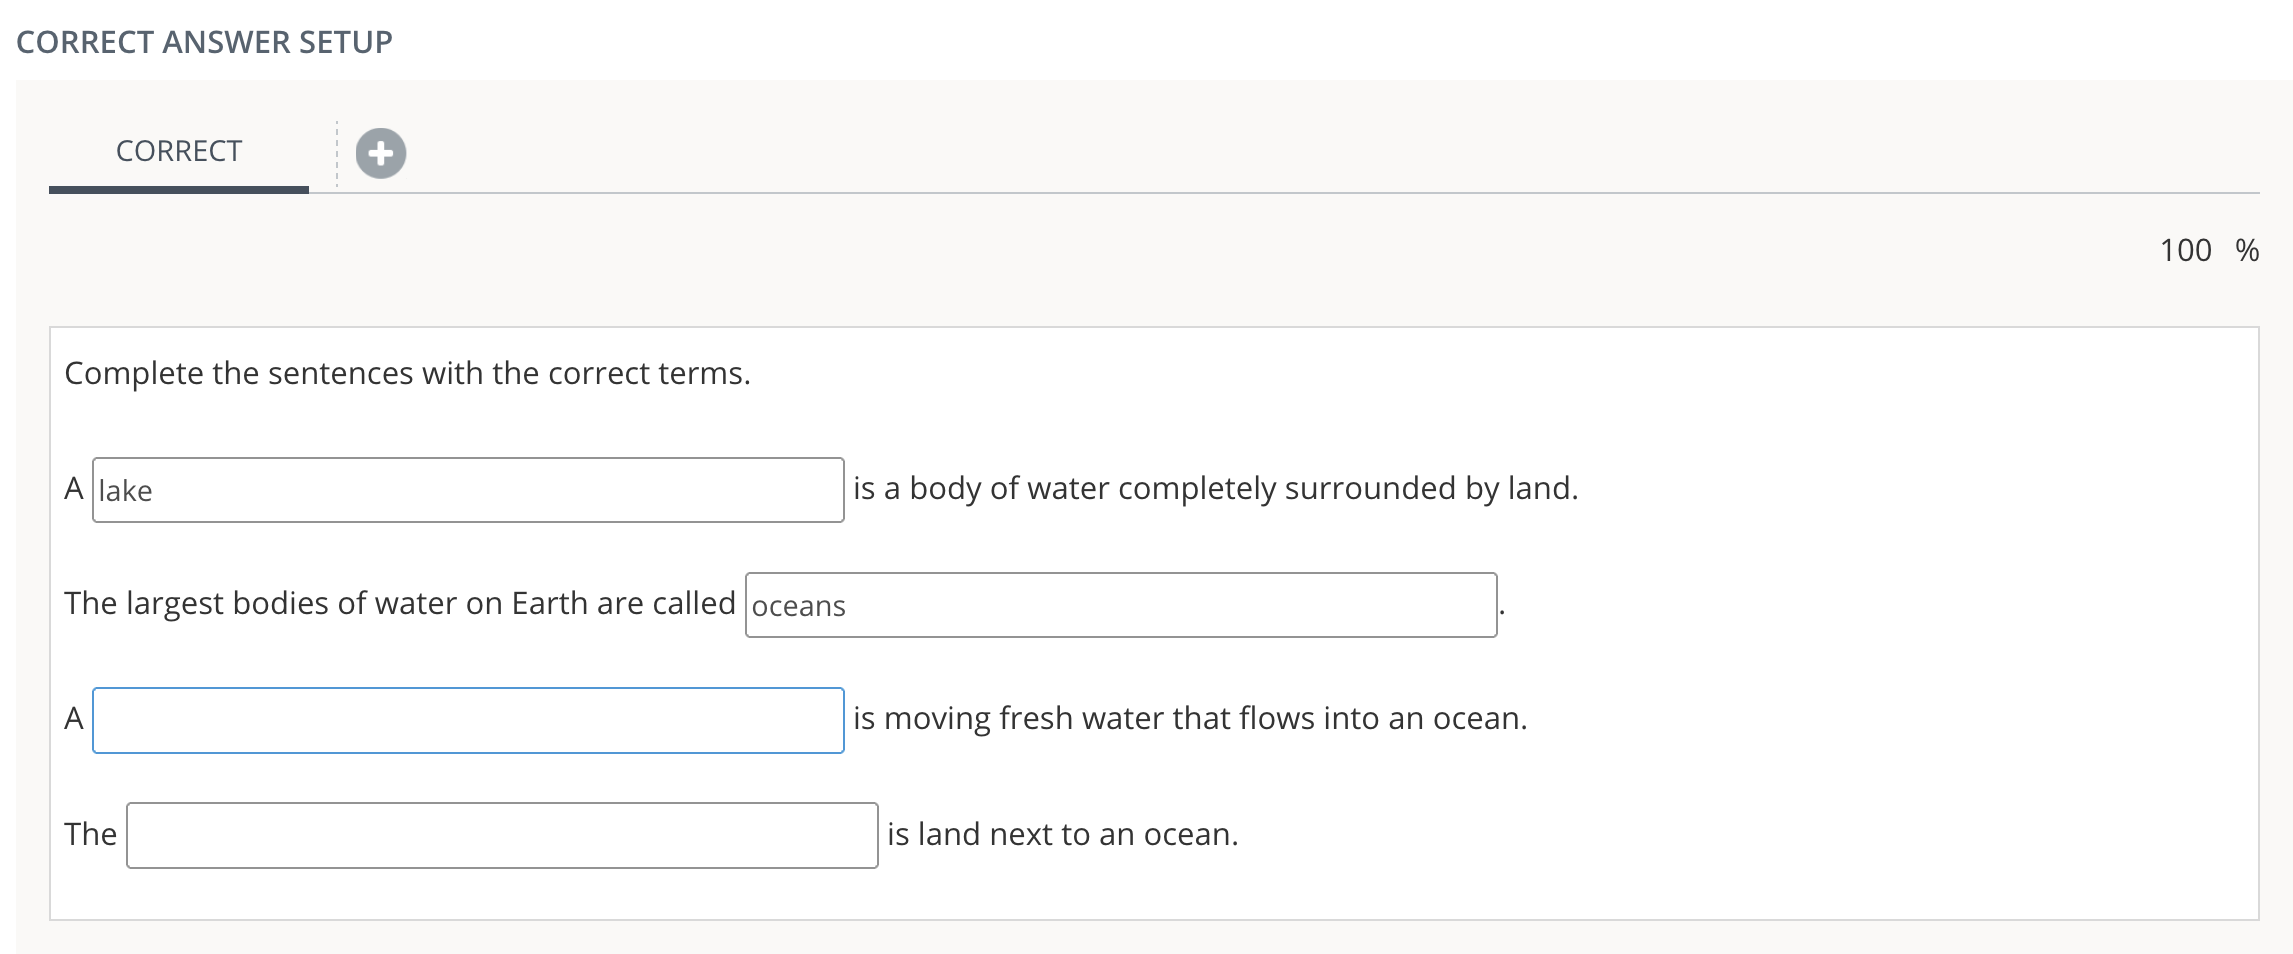
Optionally, add alternate correct answers:
-
Click the + button at the beginning of the Correct Answer Setup area to set up an additional set of acceptable responses to the blanks in the question.
-
In the percentage field, set partial credit and the percentage of possible points students can earn for this answer.
Enter a Maximum Length for characters. The default is 40 characters. Decreasing the maximum character length will also shorten the input box.
Select Case Sensitive to consider capitalization during scoring.
Configure scoring
If your question has more than one blank, choose your Scoring Type for the question after you have entered the correct responses to each blank.
-
Exact Match requires students to answer all parts of the question correctly to receive credit. This option allocates 100% of the possible points for correctly responding to each response box and zero points if one or more responses are incorrect.
-
Partial Match awards credit based on the number of correct responses. Available for supported question types. For scoring calculations and examples, refer to Partial match scoring.
-
Optionally enter a Penalty Score to deduct points for incorrect responses when Partial Match scoring is enabled. For calculations and examples, refer to Penalty scoring.
Author notes
Enter Author Notes to explain why certain choices are incorrect, or why partial credit was given for alternate answers. This field only displays to authors with edit access. This information will not display to students.
Align learning objectives
-
Click + Learning Objectives to display the Learning Objectives browser.
-
From the available learning objectives, select a category and choose from the objectives.
-
Click Align to add the objectives.
Preview and edit the question
-
Click Preview Question to review how the question will display to students.
-
Click Edit Question to return to the question editor. Alternatively, click X to close the question.