Highlight Hotspot: Enhanced Question Type (Enterprise Only)
Use the Hotspot question type to enable authors to upload an image and define target regions (hotspots) within the image for student validation. Students can then click one or more areas on the image as a response. While the Highlight Image question allows a student to mark the image to identify the correct answer, the Highlight Hotspot question instead enables the question author to designate a set of areas from which the student may select. This also allows the question type to be auto-graded, as opposed to the Highlight Image type which requires manual review and grading.
Question Setup
Enter your question into the Question Setup field.
Use the Rich Text Editor which appears when you click into the Question Setup field to apply formatting such as bold and italics, or to insert images or tables. Hover your mouse over the individual icons to view the tooltip explaining the function of each button.

Add an Image
Click Upload Image and browse to an image on your computer or shared drive, or add a direct link to the image in the Image Link field. Set your image width and height in pixels.
You will then see the uploaded image in the Areas section below. This is where you define validation areas for the question.
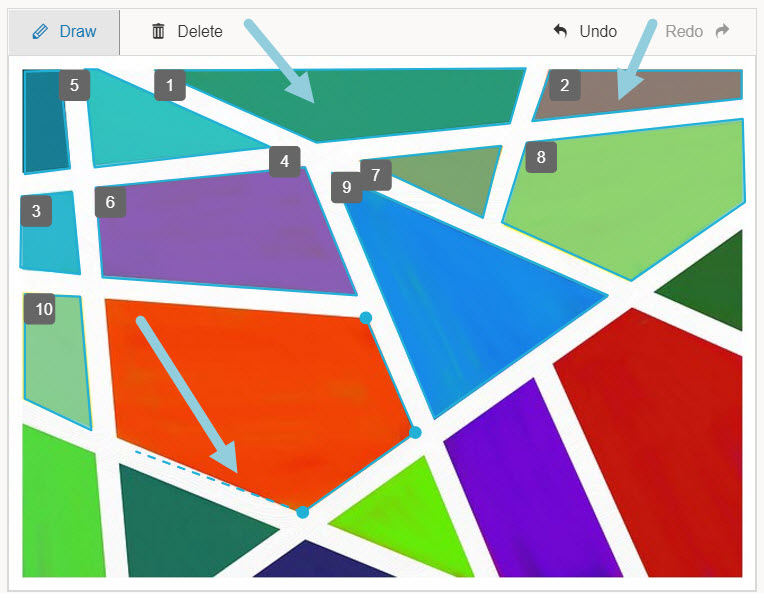
Click on the image to begin outlining the hotspot areas. Close the shape by clicking near its starting point. The outlined area is labeled Area 1. You can create as many areas as needed.
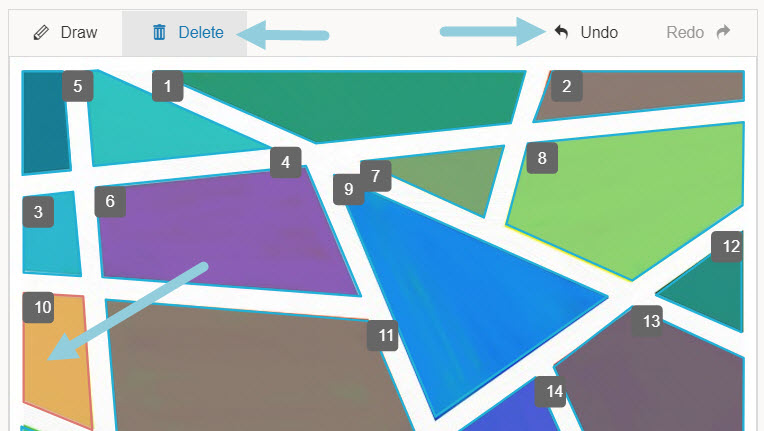
To delete an existing area, click Delete at the top of the picture. Hover over the area to delete. Once it turns red, click it to delete it. You can also use the Undo button to undo your last click, if you need to remove the last dot you made around an area.
Correct Answer Setup
The image displays in the Correct Answer Setup area, with each hotspot visible. Click the area(s) the student must select for a correct answer.
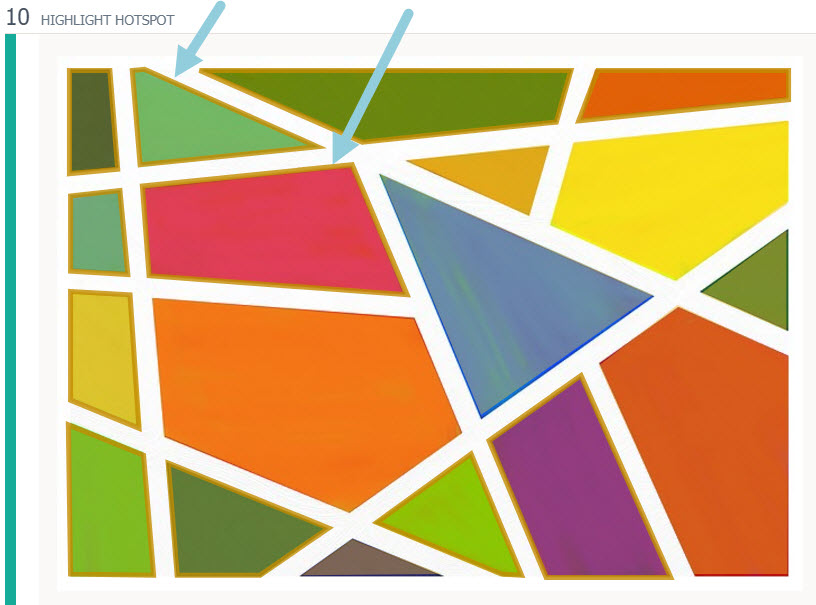
Click Multiple Responses if more than one area is the correct answer.
Click the + button at the top of Correct Answer Setup to enable an additional set of acceptable responses to the question.
Click into the percentage field to the right of the additional answer to determine whether the alternate answer is worth partial credit and to set the percentage of possible points students can receive for this answer accordingly.
Author Notes
Enter Author Notes to explain why certain choices are incorrect, or why you chose to allocate a certain percentage of possible points to alternate answers. If you have edit access to a question, you will see this field. This information will not display to students.
Align Learning Objectives
Click Learning Objectives to open the Learning Objectives browser window.
Click Browse/Search to find and add specific objectives.
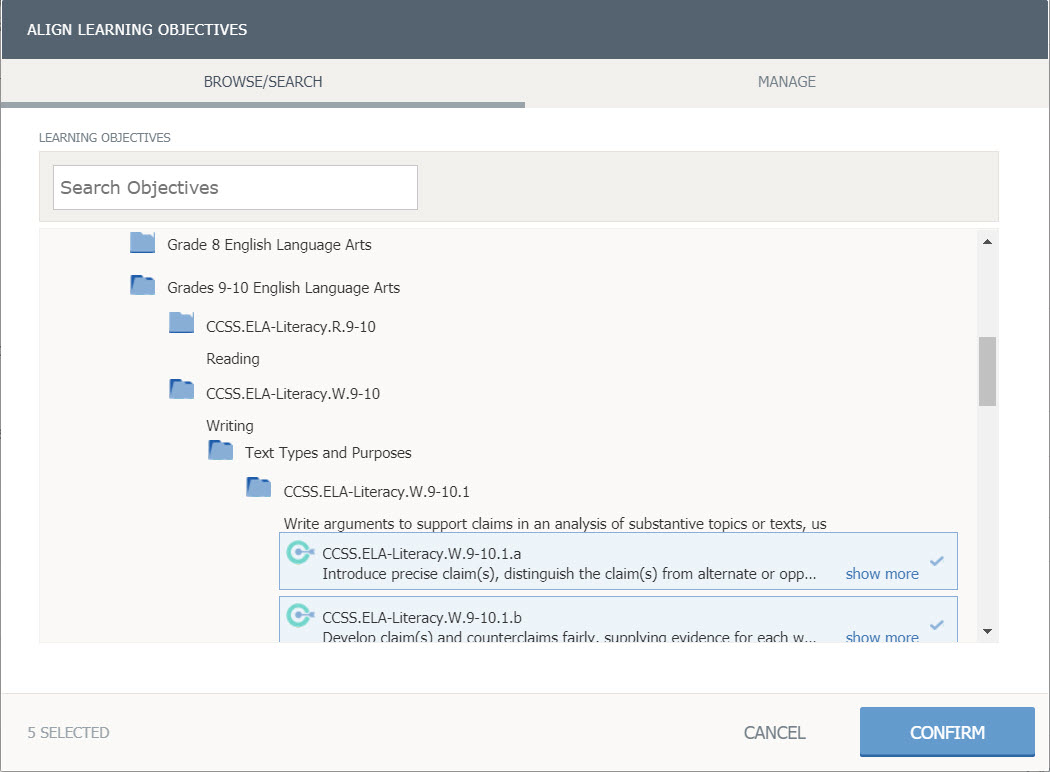
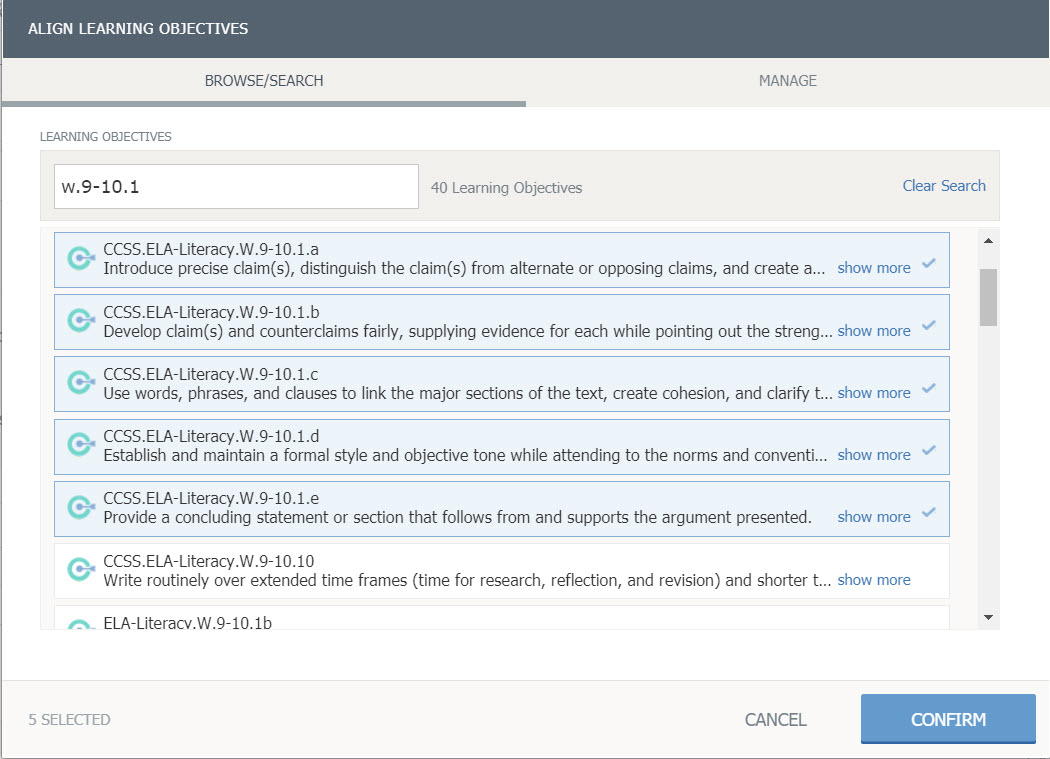
Click Manage for objectives already aligned to the question.
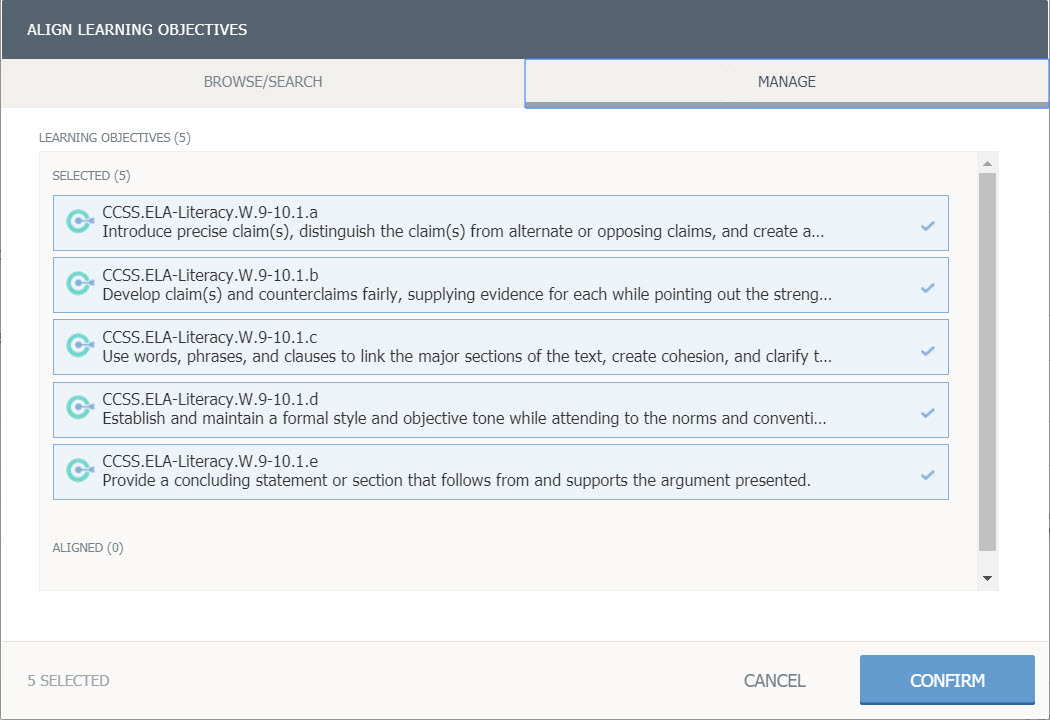
Click Confirm to save the learning objectives.
Preview and Edit Question
To see how the question will appear to a student taking it in an assessment, click Preview Question.
To exit the preview screen and return to the question editor, click Edit Question.
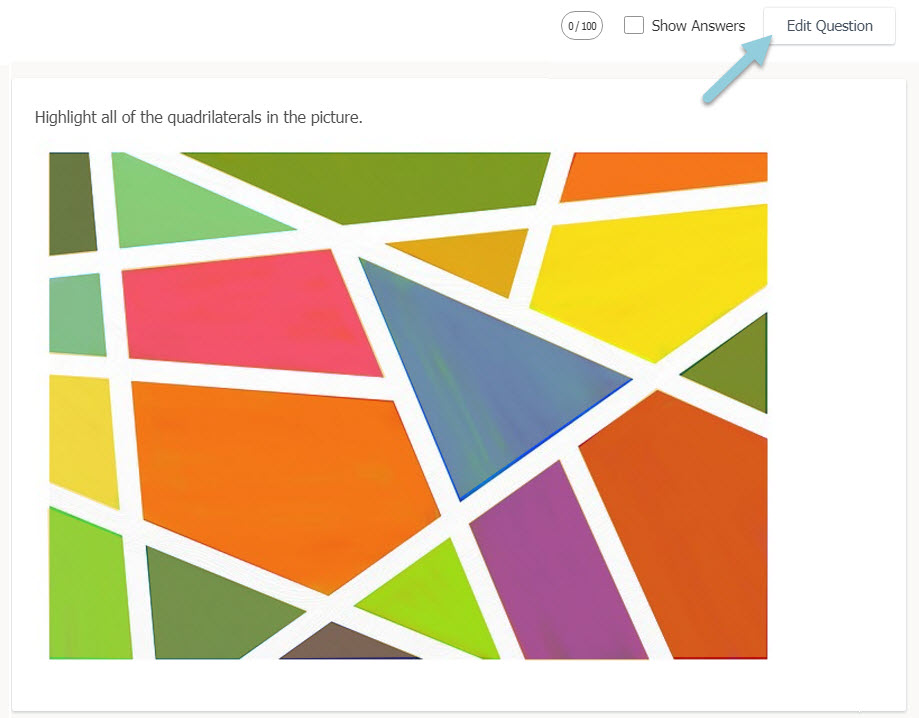
Once you are finished editing the question, click Save.
