
Use the Short Answer/Essay question type to ask questions that require students to provide a written response. Students can also insert images, links, and other supporting materials in their responses.
Question setup
-
From Compose question, enter your question or writing prompt.
-
Use the Rich Text Editor to format text or insert images and tables.
-
Hover over icons to display tooltips.
-
Copy and paste images into this area from a browser only. To insert an image directly from your device, select Image from the Rich Text Editor.

-
-
From Text formatting options for students, select the options to give to students. By default, students can include bolded, italicized, underlined, bulleted, or numbered text in their responses.

-
Select a highlighted rich text option to remove it for students.
-
From Word limit, enter a word limit for student responses and determine whether to allow submissions over the word limit or not.

-
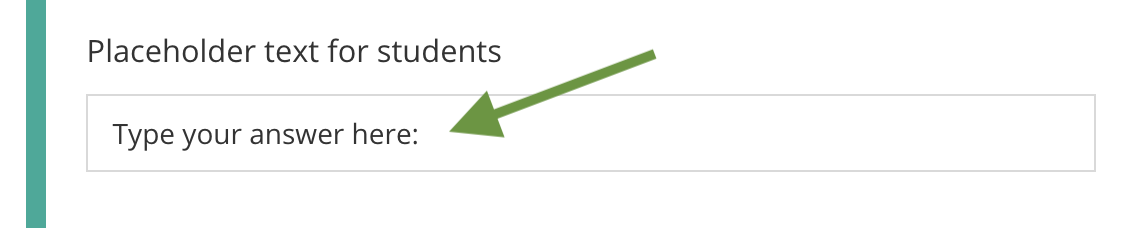
Enter Placeholder text for students to display to students in the answer box, such as Type your answer here.
If you are creating a Short Answer/Essay question in AMP, you can enter Scoring Instructions. As an instructor, you can access this field while scoring a student’s submission.
Add learning objectives
-
Click + Learning Objectives to display the Learning Objectives browser.
-
From the available learning objectives, select a category and choose from the objectives.
-
Click Align to add the objectives.
Align a rubric
-
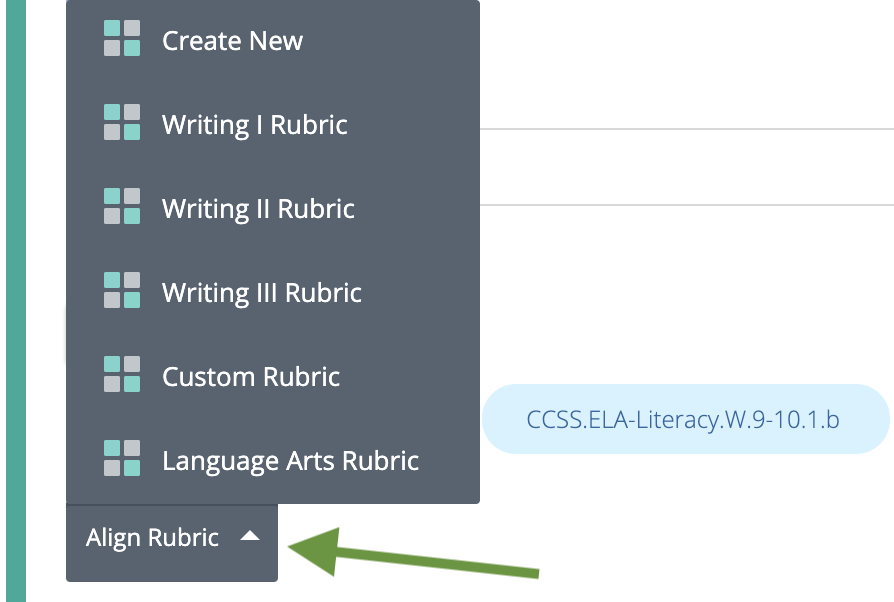
Click Align Rubric to create a new rubric or select one from your Resources.
-
After a rubric has been aligned, select the rubric icon (four squares) to preview the rubric or click X to remove the rubric from the question.
-
Select Show to students to display the rubric to students when they are taking the test.
Preview and edit the question
-
Click Preview Question to review how the question will display to students.
-
Click Edit Question to return to the question editor. Alternatively, click X to close the question.