
AMP customers can enable Text-to-Speech functionality and Line Reader/Screen Masking for both course assessments and managed assessments (AMP) delivered at your organization.
-
Text-to-speech is available for all AMP customers. If you are not an AMP customer and are interested in text-to-speech for course assessments, contact your Schoology representative to learn more about AMP.
-
For instructions on how to customize syntax and pronunciation for the text-to-speech reader, refer to Create questions for accessibility (text-to-speech).
Text-to-speech
Turn on text-to-speech
The text-to-speech toolbar, which also includes screen masking (line reader) functionality, is turned off by default on all assessments.
-
AMP admins can turn on the toolbar for managed assessments from the Settings menu. When this setting is on, any student starting or resuming the assessment will have access to the functionality.
-
Course instructors or assessment authors can turn on the toolbar for course assessments from the Setup tab. Students starting or resuming the assessment will then have access.
Use text-to-speech
Students can access text-to-speech functionality within the assessment. The toolbar is expanded by default when a student starts the assessment and can be collapsed by clicking the arrow icon.
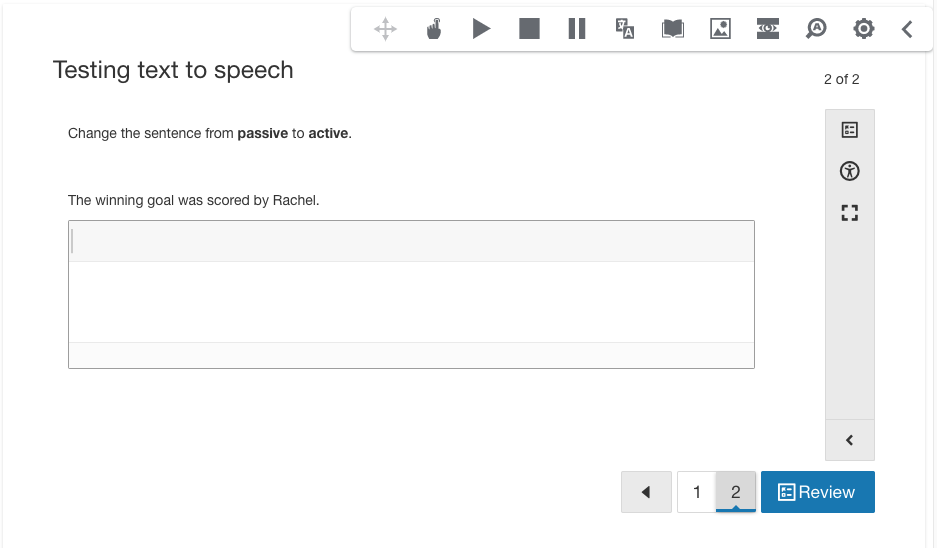
Toolbar options
|
Options |
Details |
|---|---|
|
Drag handle |
Move the toolbar anywhere on the screen. |
|
Pointer |
Click the pointer, and then select a location on the page to start reading from that point. |
|
Play |
Read from the start of the page or from a selected passage. |
|
Stop |
Stop the screen reader. |
|
Pause |
Pause or resume speech. Reading continues until the question, or passage with multiple questions, is fully read. |
|
Translate |
Highlight a word and click Translate to convert it from English to Spanish. The translation can also be read aloud. |
|
Dictionary |
Highlight a word and click Dictionary to display the definition. The definition can also be read aloud. |
|
Picture dictionary |
Highlight a word and click Picture Dictionary to display a pictorial definition. |
|
Screen masking (line reader) |
Shade portions of the page to guide reading. Refer to Screen masking (line reader) for details. |
|
Magnifying glass |
Enlarge text as it is read aloud. |
|
Settings |
Customize the text-to-speech experience. |
|
Collapse/Expand arrow |
Collapse or expand the toolbar. |
Student settings
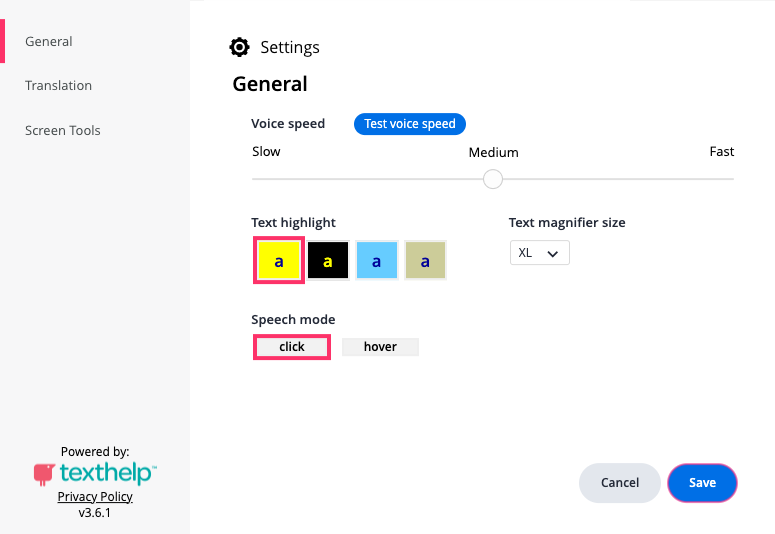
Click the settings button to display the text-to-speech options that students can modify.
Student text-to-speech details
|
Settings |
Details |
|---|---|
|
Voice speed |
Controls how quickly words are read aloud. |
|
Text highlight |
Determines how words and sentences are highlighted during reading. Each option uses a background color and a text color. The sentence is highlighted in one color, and the word being read is highlighted in the other. |
|
Text magnifier size |
Controls how large the text becomes when the text magnifier is selected. |
|
Speech mode |
Determines how students start reading text aloud from any location on the page.
|
The default settings for every student are:
-
Voice speed: Medium
-
Text highlight: Yellow and navy
-
Text magnifier size: XL
-
Speech mode: Click
Changes to these settings do not persist across student sessions.
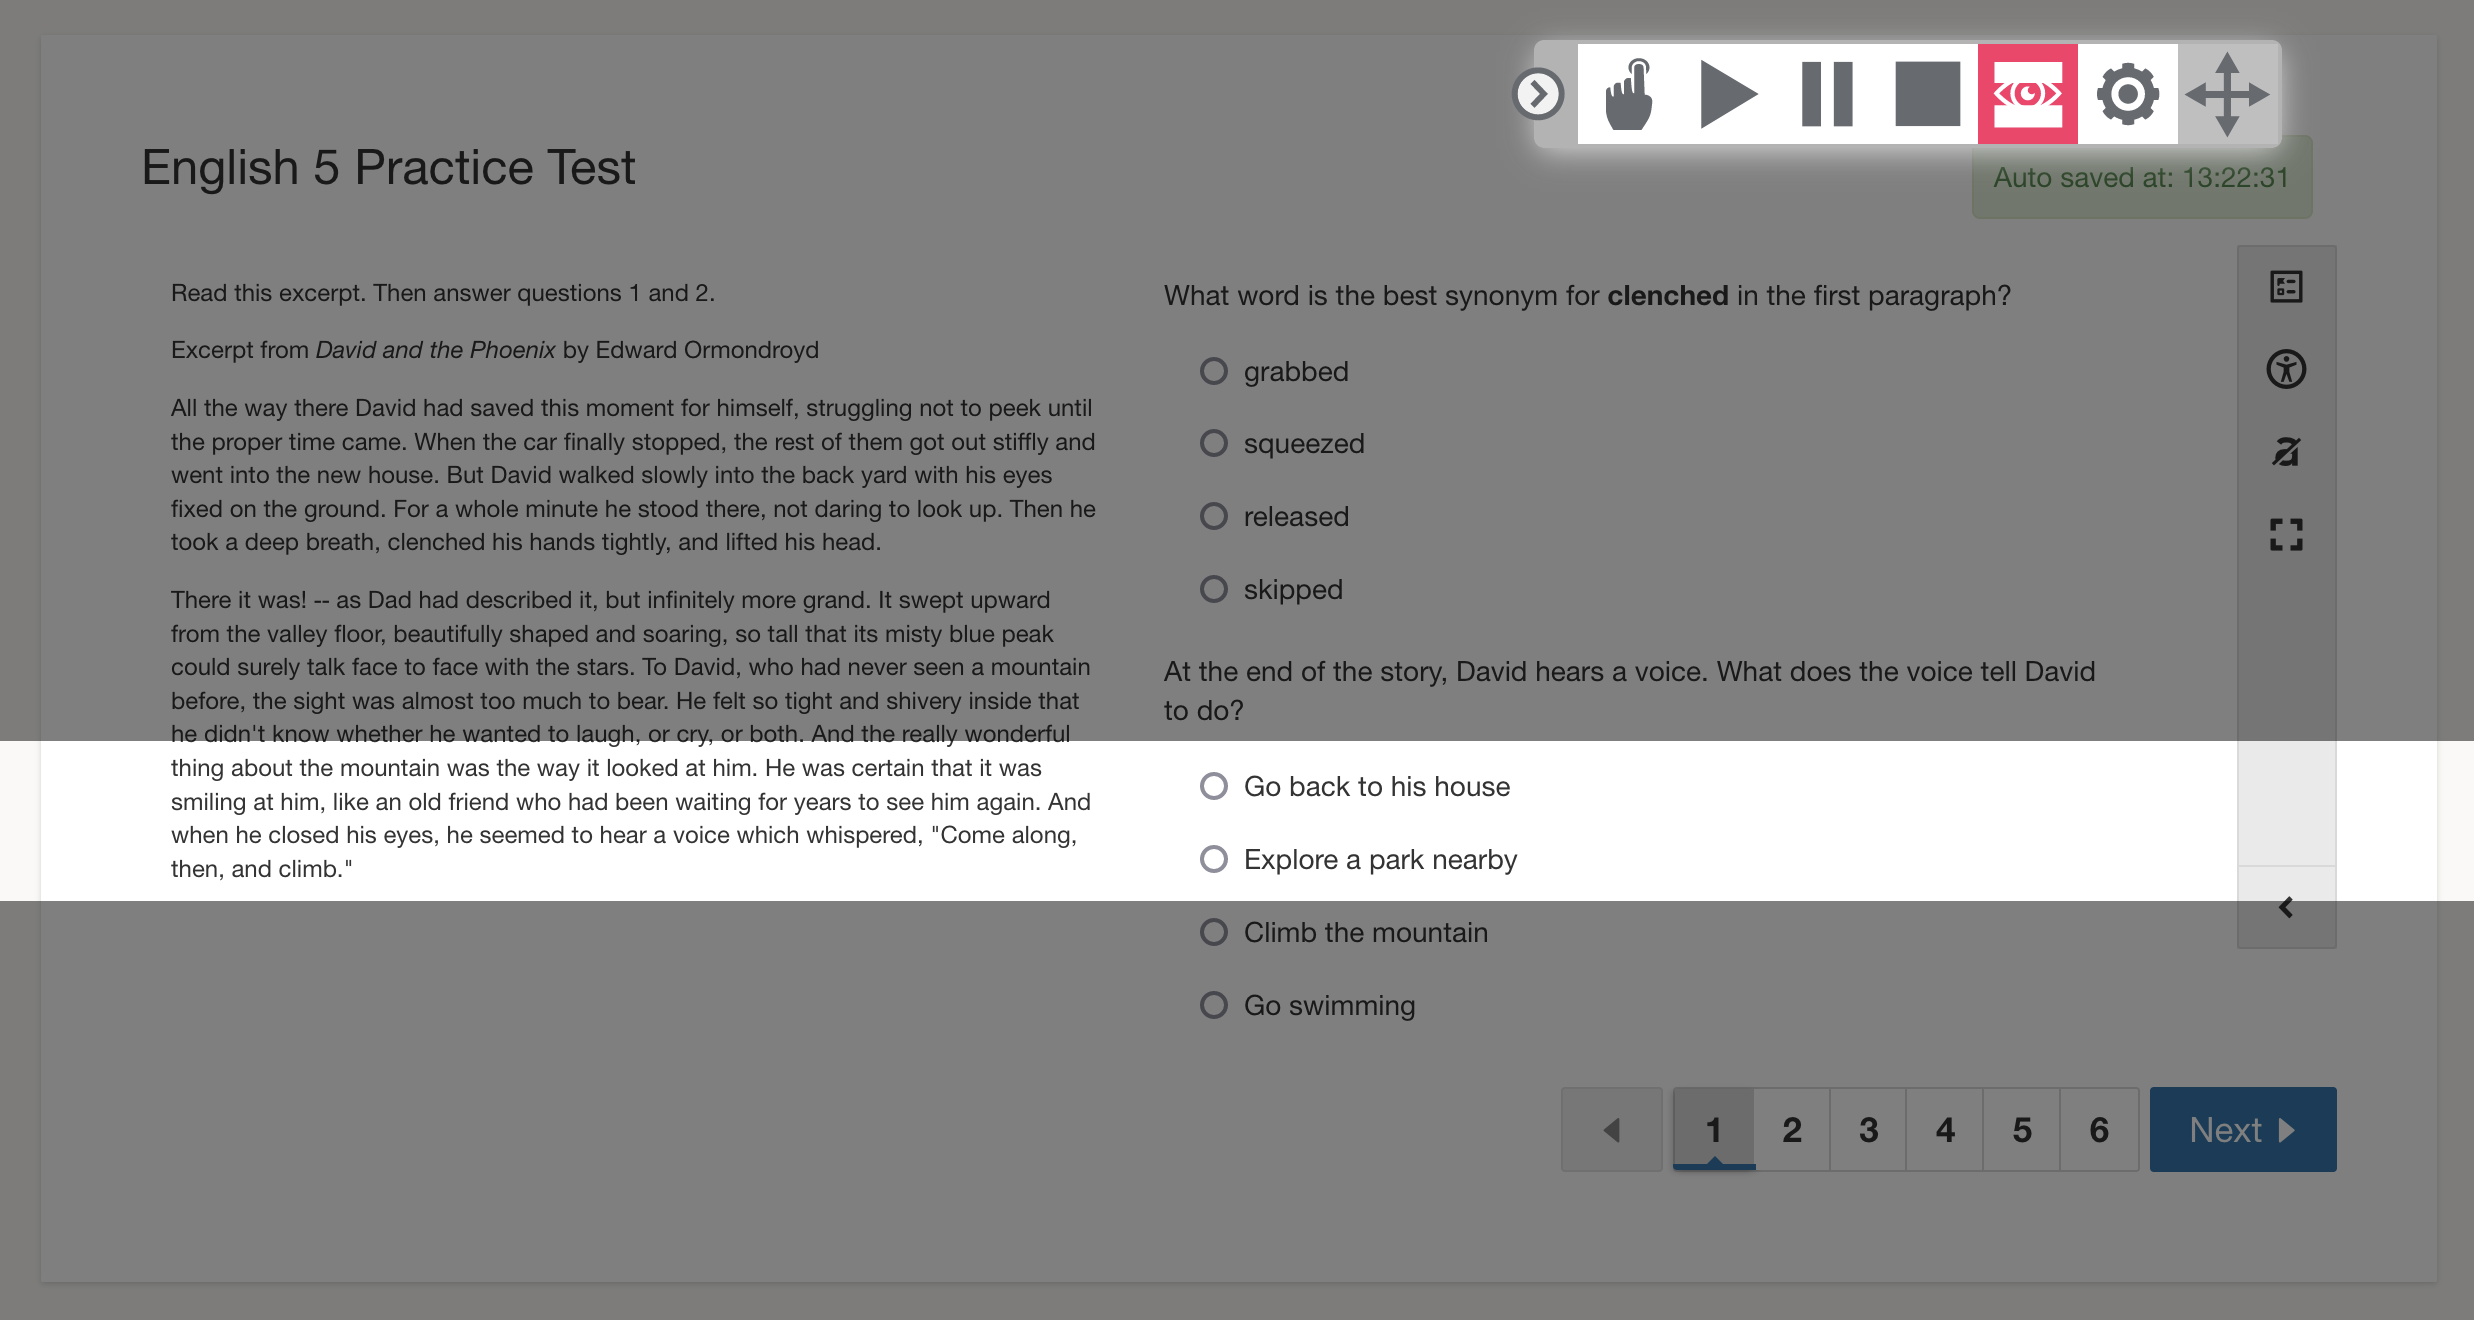
Screen masking (line reader)
Screen masking, also called the line reader, is available from the text-to-speech toolbar when text-to-speech is turned on for an assessment or managed assessment.
From the text-to-speech toolbar, click Settings. Select Screen Tools to display the Screen Mask settings.
Use screen masking
To turn on the line reader or screen masking, students click the screen masking button in the text-to-speech toolbar. Then, click the screen masking button again to turn off the screen masking bar.
Feature interactions
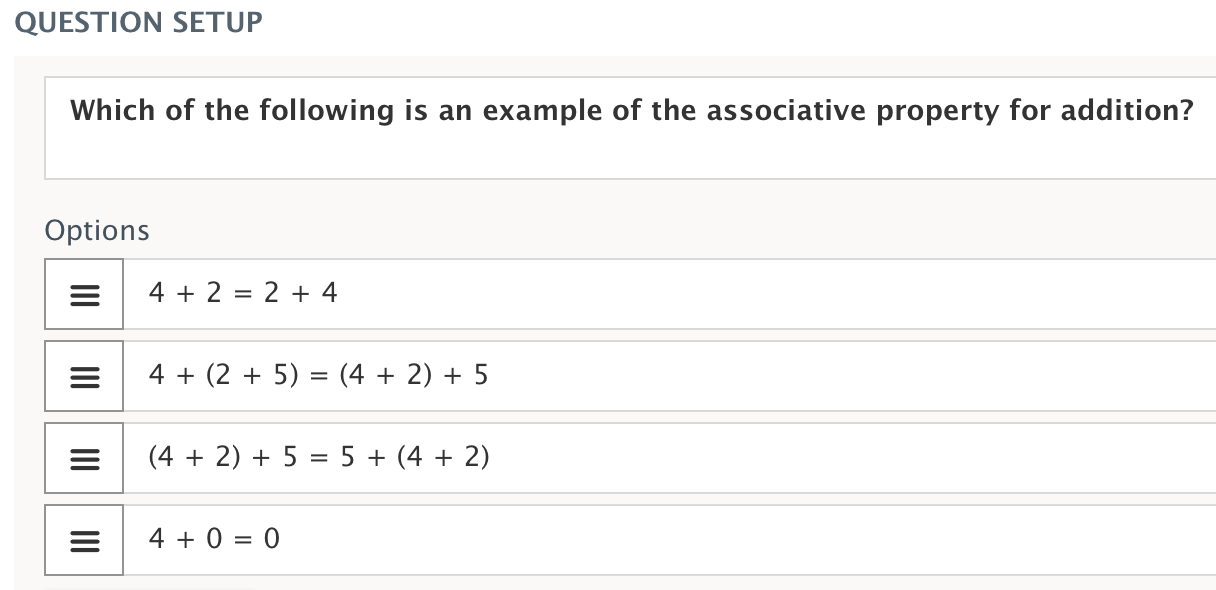
Math equations
The text-to-speech toolbar will correctly read equations entered directly in the rich text editor.
While simple equations, like 2 + 2 = 4, will be read aloud correctly, more complex equations should be entered using the math editor to ensure accurate reading.
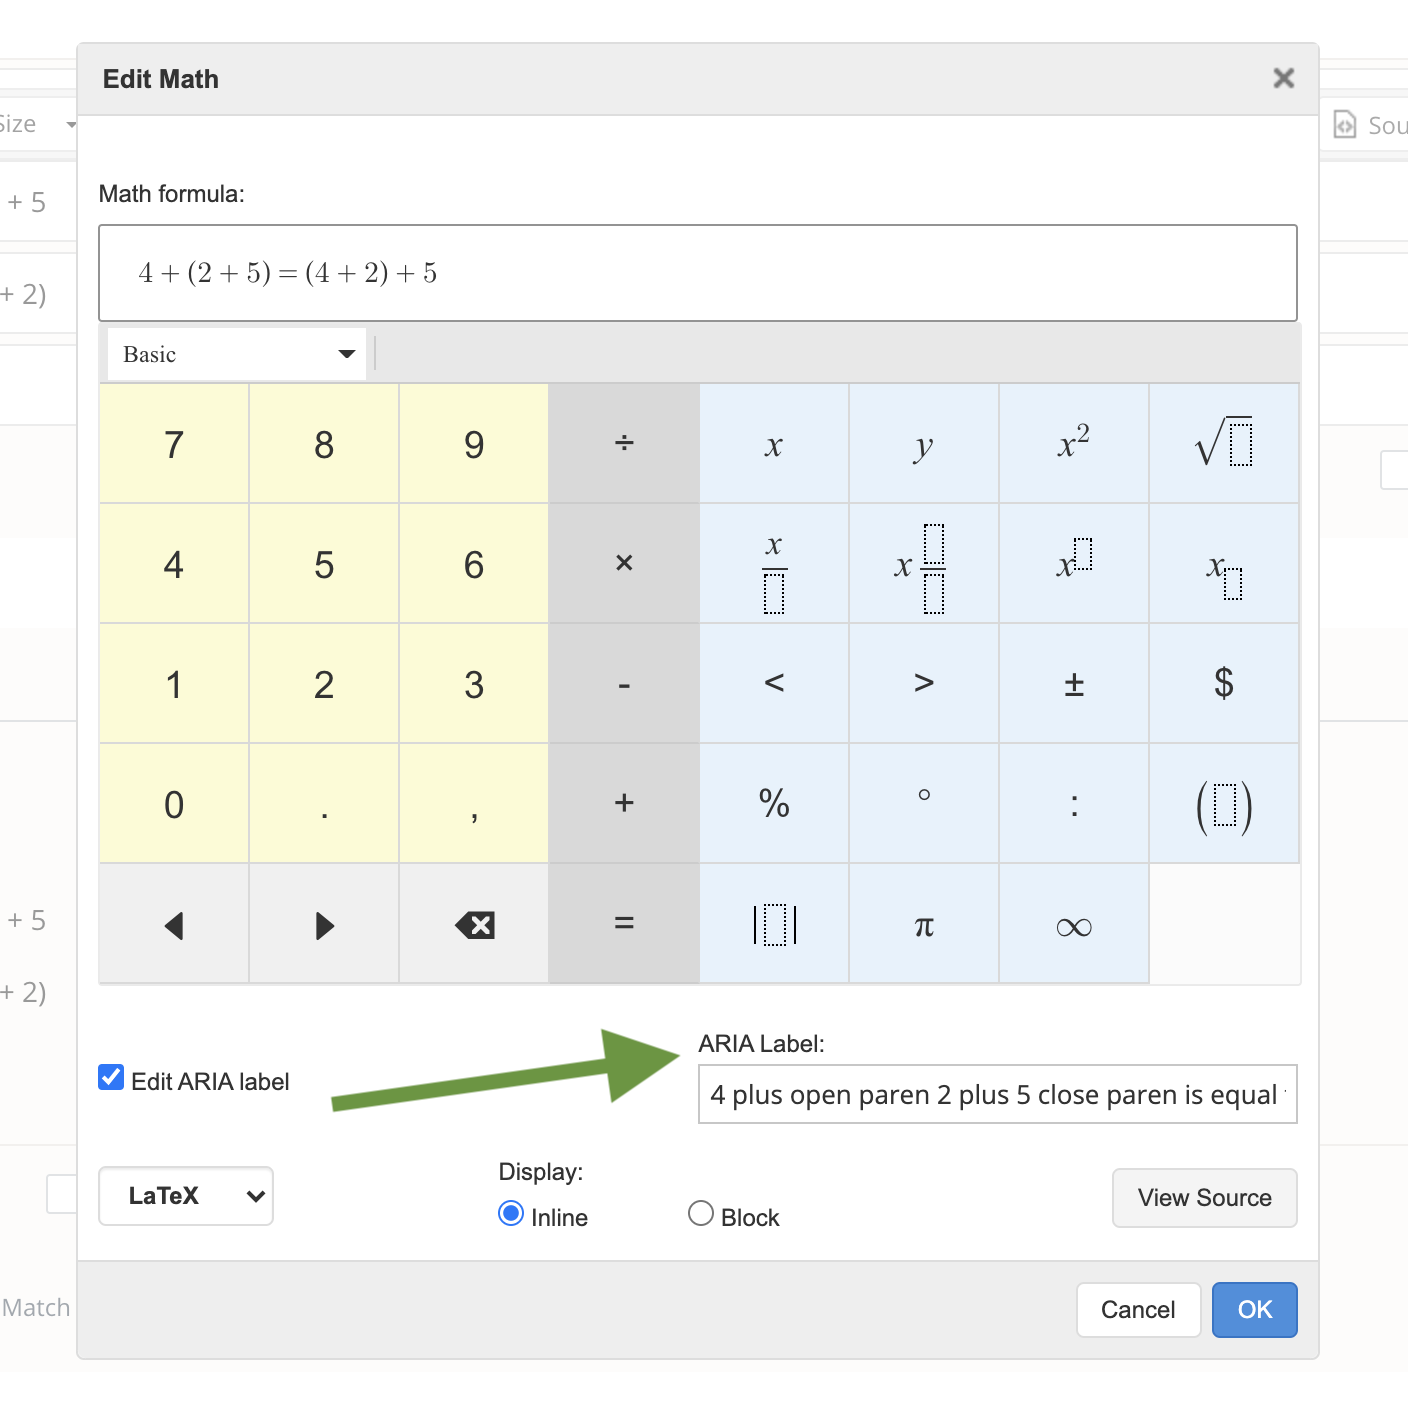
To customize how an equation is read, use the math editor in the toolbar.

From the math editor, you can customize how the equation is read by a screen reader or assistive tool. Select Edit ARIA label and update the label to change is equal to to equal.
Images
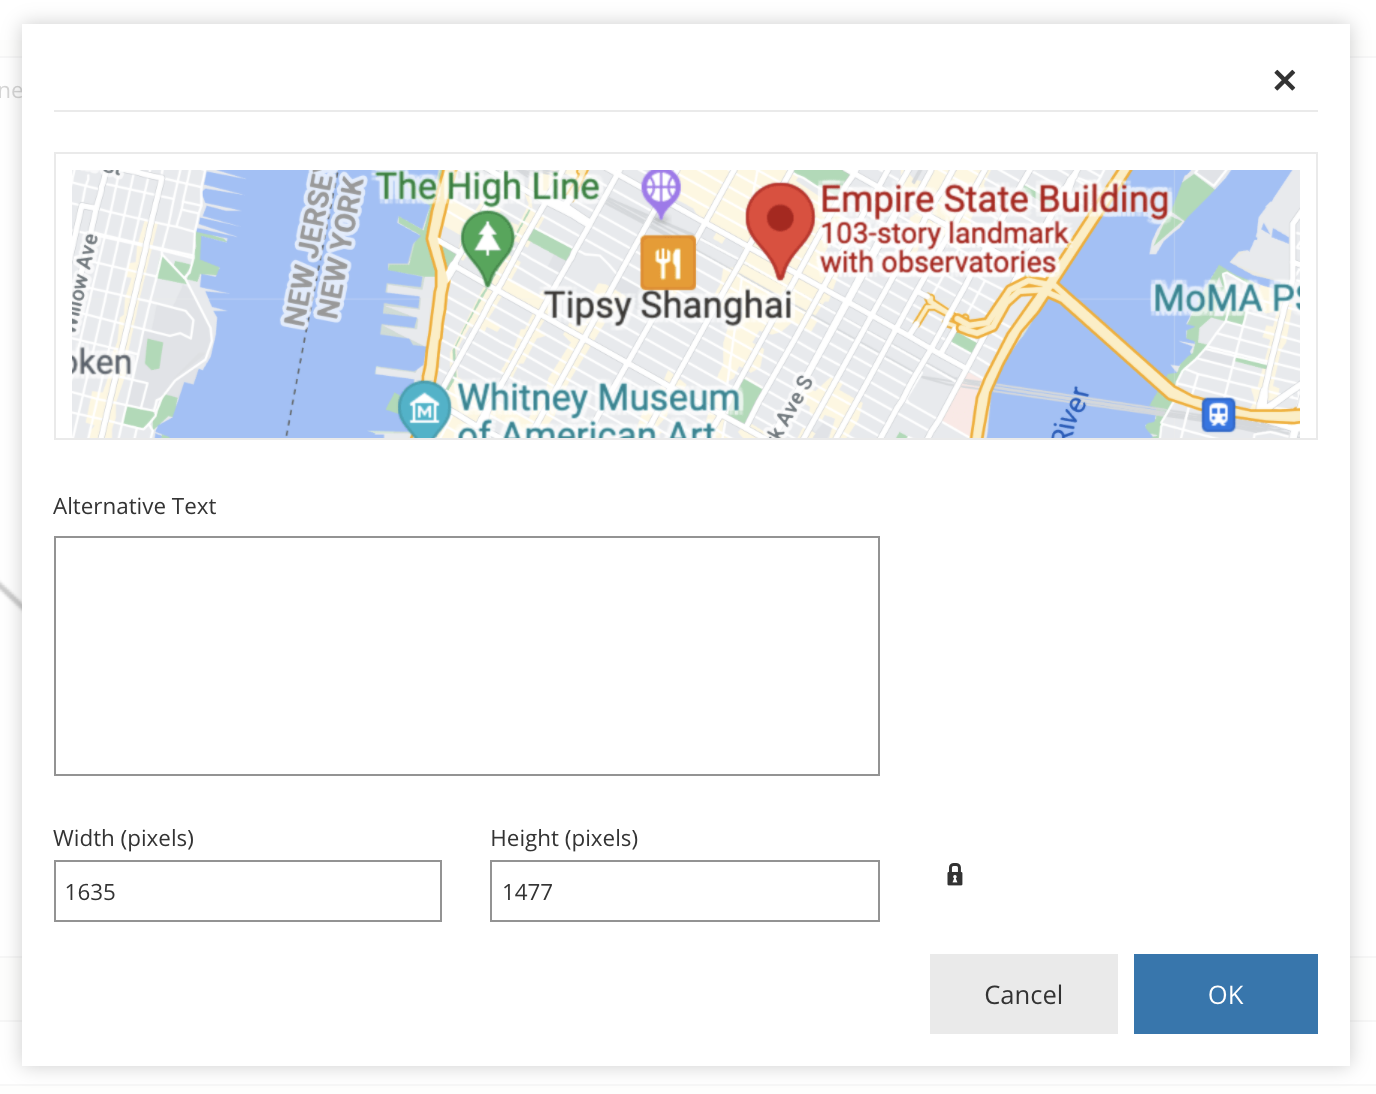
Enter Alternative Text in the question editor if you want the image included when text is read aloud.
Embedded images will not be read by screen readers unless alternative text is provided.
Use text highlighting with text-to-speech
Students can highlight text during assessments. However, when using the text highlighting tool in conjunction with the text-to-speech tool:
-
The highlight pen cannot be used on a sentence currently being read aloud with Click to speak (hand icon) or Select to speak (play icon). The sentence will be read aloud when it is clicked.
-
Using Select to speak (play icon), students can highlight other sentences on the page while a different sentence is being read aloud. This allows annotating previously read text while listening to new content.
-
It’s best to use either text-to-speech or highlighting at one time, similar to reading and highlighting on paper.
Students should use either text-to-speech or highlighting at one time, just as they would on a paper page, rather than reading and highlighting simultaneously.