
Create an item
You must have the necessary permissions to create items.
Enter properties
-
From the main navigation menu, choose Items, then New Item.
-
From Properties, enter an item Title using the naming convention your school or district recommends.
-
Select an Item Bank. Optionally, you can use the Search to locate an item bank. Your permissions determine the scope of banks from which you can choose.
-
Choose the Item Source.
-
Select an item bank.
-
Click Select.
-
-
Optionally, enter Tags.
-
Click Add Standards.
-
Use the search to locate standards by code or description.
-
Select the desired standards.
-
Click Done.
-
-
Optionally, select the interaction Attributes.
-
Optionally, click Add Notes to include item notes, or Add Next Steps to outline the next steps for the item
-
Click Save. The item transitions to In Progress status and generates a unique item ID.
Add items
-
Select Build to add item content.
-
Choose the item format from the Interactions. A single item supports up to 100 interactions for scoring.
-
Add the necessary content to the item.
-
Use the text editor to add images, multimedia, resources, tables, math equations, copied text, and other components to the interaction.
-
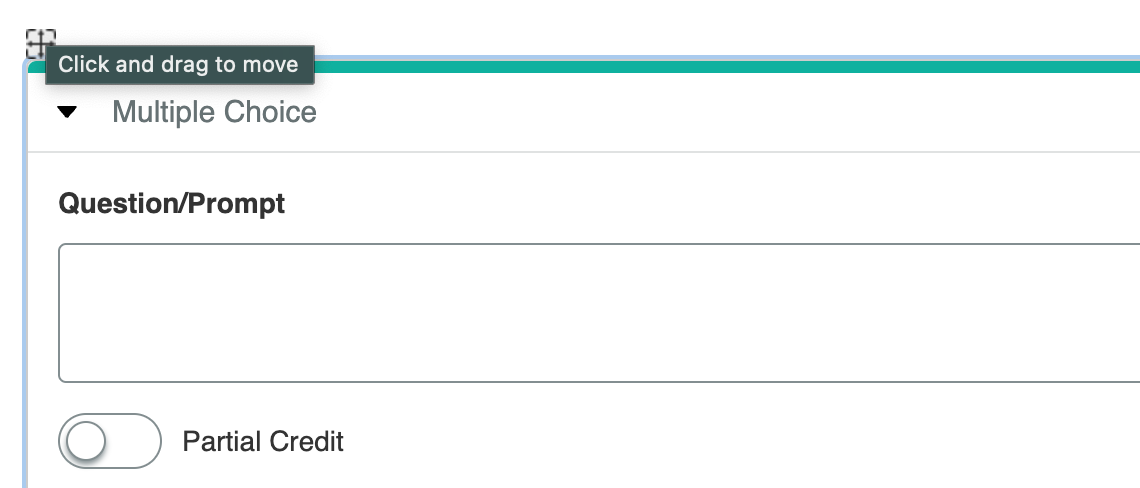
To move or remove an interaction block, hover over the block until the four-way arrow displays, then click on the arrow. An outline around the interaction block indicates you can drag the arrow to move the interaction. Press the Delete key to remove the interaction.
-
Optimize the composer display using either the sizing button in the toolbar or the resizing handle.
-
Click the Expand icon to maximize the item editor display.
-
Click Preview to experience the item in the online testing system.
-
Use Text Reader to preview how the item will be read using a screen reader.
-
-
After you add all the necessary content, click Save.
-
Click Submit to move the item to the Accepted status.
-
Alternatively, if you are creating an item from Assignment, click Submit to send it to review. The item does not display until the reviewer returns the item assignment.
-
-
After you add an item to a test and that test is either released to OLA or scan sheets are downloaded, the item is locked. You cannot change or update the item. Contact support if you need to correct a locked item.
Add images
To adjust image properties, double-click the image in the text entry field. You can adjust the image alt text, width, height, border, and spacing. Larger images automatically re-size to fit the area.
For images to display correctly in an exported PDF test, the width cannot exceed 675 pixels.
Add a tooltip
Add tooltips to any text in an item where you can access the text editor.
-
Select the text.
-
Select the Tooltip icon from the text editor menu.
-
Enter the Tooltip Text.
Tooltip text will display when a student places the mouse pointer over the highlighted text.
Preview interaction examples
If you are unfamiliar with any of the interaction types, click Examples.
You must preview examples before adding content to your item. The example content overwrites any content in the editing pane. If this happens, click Undo in the text editor toolbar to remove the example and restore your content.
Update text reader
Preview how text is read
To preview how a student will hear an item using a screen reader, select Text Reader.
Ignore a section
-
Select the text you want the text reader to ignore.
-
Select Ignore Section.
Update pronunciation
Screen readers may pronounce words incorrectly, especially when heteronyms are used without context. You can update pronunciations for any word in the item.
-
Select the text and click Update Pronunciation.
-
In Read Selected Text As, enter the phonic pronunciation.
-
Select Update.
Add a pause
You can add a pause of up to ten seconds to cause the screen reader to pause while reading the text.
-
Place your cursor where you want the pause and click Pause.
-
In Pause Time (in seconds), enter the number of seconds you want the screen reader to pause.
-
Select Ok.
Multiple language support
You can select multiple languages to be read within the same item.
-
Select the text and click Translator.
-
On the Update Language page, choose the language and select Update.
On the item, the language will display next to the selected text.
Use Text Reader to review how a screen reader will read the text.
Notes:
-
Only English can be translated.
-
You cannot add a pause or pronunciation substitution at the beginning of a word or sentence in a text box question or answer prompt.
-
You cannot add a pause to select text or drag-and-drop interactions.
-
There are limitations to using the TTS ignore, pause, and substitution plugins when reading MathML content.
-
TTS pause, ignore, substitution, and multiple language support are not supported for instruction blocks.
-
Multiple language support is not supported for select text, drag-and-drop, and fill-in-the-blank interactions.
-
Multiple language support is not supported for MathML.
Apply conditional scoring
Conditional Scoring items allow you to create a machine-scored two-part item in which an incorrect response in the first interaction results in the entire item being scored as zero.
The following criteria must be met to create a two-part Conditional Scoring item:
-
The choice interactions must not allow partial credit
-
An interaction cannot have more than one correct response.
To apply conditional scoring:
-
Choose Items from the main navigation menu, then click New Item.
-
Alternatively, you can select the global search icon, and then click Edit for the respective item in the Results list.
-
Click Build to add item content.
-
From the Interactions, choose With Conditional Scoring. This inserts two Multiple Choice items and the Conditional Scoring type in the item content.
-
Optionally, you can remove Conditional Scoring from an item. Click Conditional Scoring and press the Delete or Backspace key.
Scoring logic
According to the scoring logic for Conditional Scoring:
-
If the student answers the first interaction correctly and the second interaction correctly, they receive full credit (2 points).
-
If the student answers the first interaction incorrectly or leaves it blank, they receive zero credit, regardless of their answer for the second interaction (0 points).
-
If the student answers the first interaction correctly and the second interaction incorrectly, they receive credit for the first interaction (1 point).
Complete the item
-
After you add all the necessary content, click Save.
-
Click Preview to experience the item in the online testing system.
-
Click Submit to move the item to the Accepted status.
-
Alternatively, if you are creating an item from Assignment, click Submit to send it to review. The item will not be listed in your item assignments until the reviewer returns it.
After you add an item to a test and that test is either released to OLA or scan sheets are downloaded, the item is locked. You cannot change or update the item. Contact support if you need to correct a locked item.