
Overview
Schoology’s integration with OneNote Class Notebook allows instructors and students to create and collaborate using OneNote.
Using the OneNote Class Notebook app, you can:
-
Set up a personal workspace for every student.
-
Create a notebook within your course or group in Schoology.
-
Create a content library for handouts.
-
Access a collaboration space for lessons and activities.
-
Exchange student work and instructor feedback automatically in one place
A system admin must install the OneNote Class Notebook app. If the app is not available in your courses or groups, reach out to your Support Contact.
Create a OneNote class notebook
Instructors who have an Office 365 account can create a class notebook directly in their Schoology course.
-
From your course, choose OneNote Class Notebook.
-
If this is your first time logging into OneNote, you will be prompted to log in to your Office 365 account.
-
Enter a name for your class notebook and click Next.
-
Review the notebook section information and click Next.
-
Optionally, enter a co-teacher’s name to add them to the class notebook and click Next.
Co-teachers have the same permissions as the primary teacher.
-
Select to automatically add students from your Schoology course to the notebook, or enter each student manually and click Next. If you choose to add students automatically, a notebook is generated for each student when students access the OneNote Class Notebook app in their course.
-
Add or remove sections to display in students’ private notebooks and click Next.
-
Preview the instructor and student notebook and click Create. Students will be able to access the class notebook from their course profile.
-
To make changes at any stage in the setup process, move your pointer over the sidebar menu to return to any step.
-
If you automatically add students to the notebook, they will not be displayed in the student’s notebook preview area.
Manage OneNote class notebook
After creating your class notebook, you can manage the settings directly from your course.
Choose OneNote Class Notebook from the course profile to access the notebook settings. You can:
-
Create another class notebook for your course. This will replace any existing class notebook in the course.
-
Add or remove additional students to your class notebook.
-
Give access to any co-teachers.
-
Manage any class notebooks in your other courses, including:
-
Renaming or adding sections
-
Accessing the notebook in OneNote Online
-
Locking the Collaboration Space to prevent students from editing
-
Setting permissions for individual students to view and edit sections
-
Creating and managing shared links for parents
-
Copying a shared link to open the notebook in the OneNote desktop app
-
-
Edit the LMS access settings for the class notebook by selecting to automatically add students from Schoology as they access the notebook.
-
Display the notebook in OneNote Online.
Instructor view
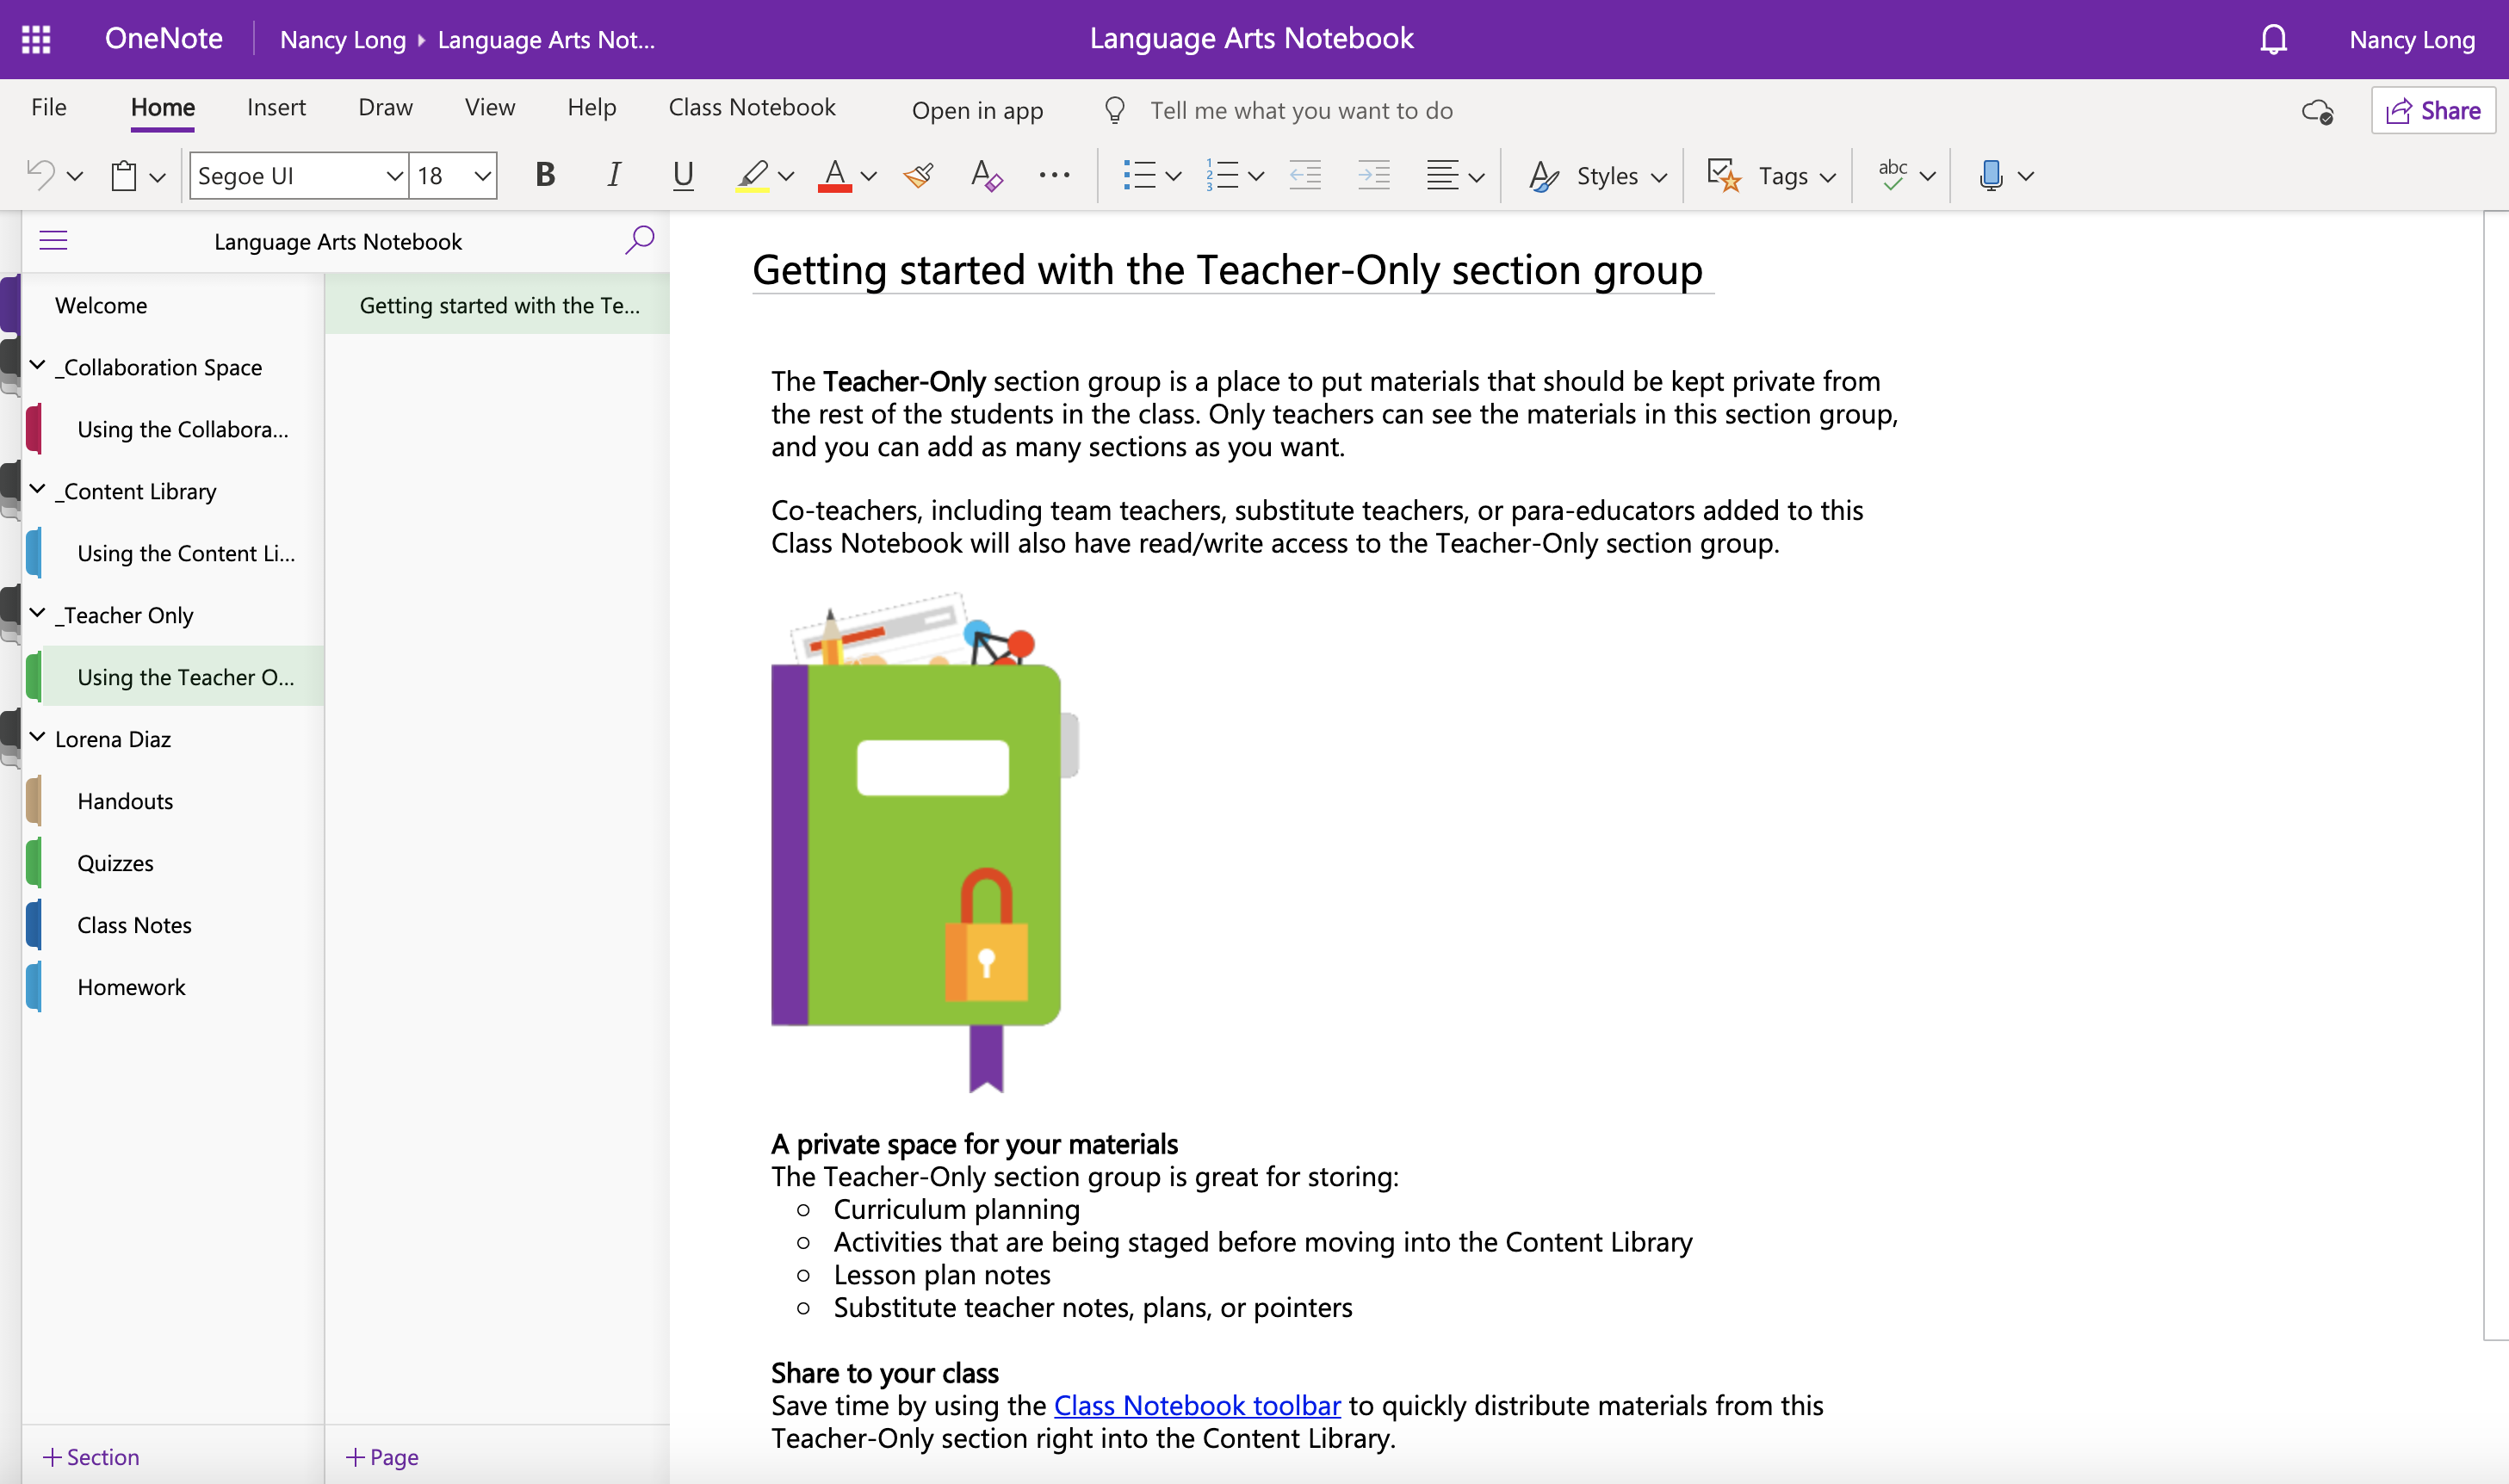
Instructors can access the OneNote Class Notebook app from the course profile. The app allows instructors to manage settings and open the class notebook in OneNote Desktop or OneNote Online.
Instructors can:
-
Access all sections and students' notebooks from the notebook menu.
-
Add sections or pages to further customize their notebook.
Student view
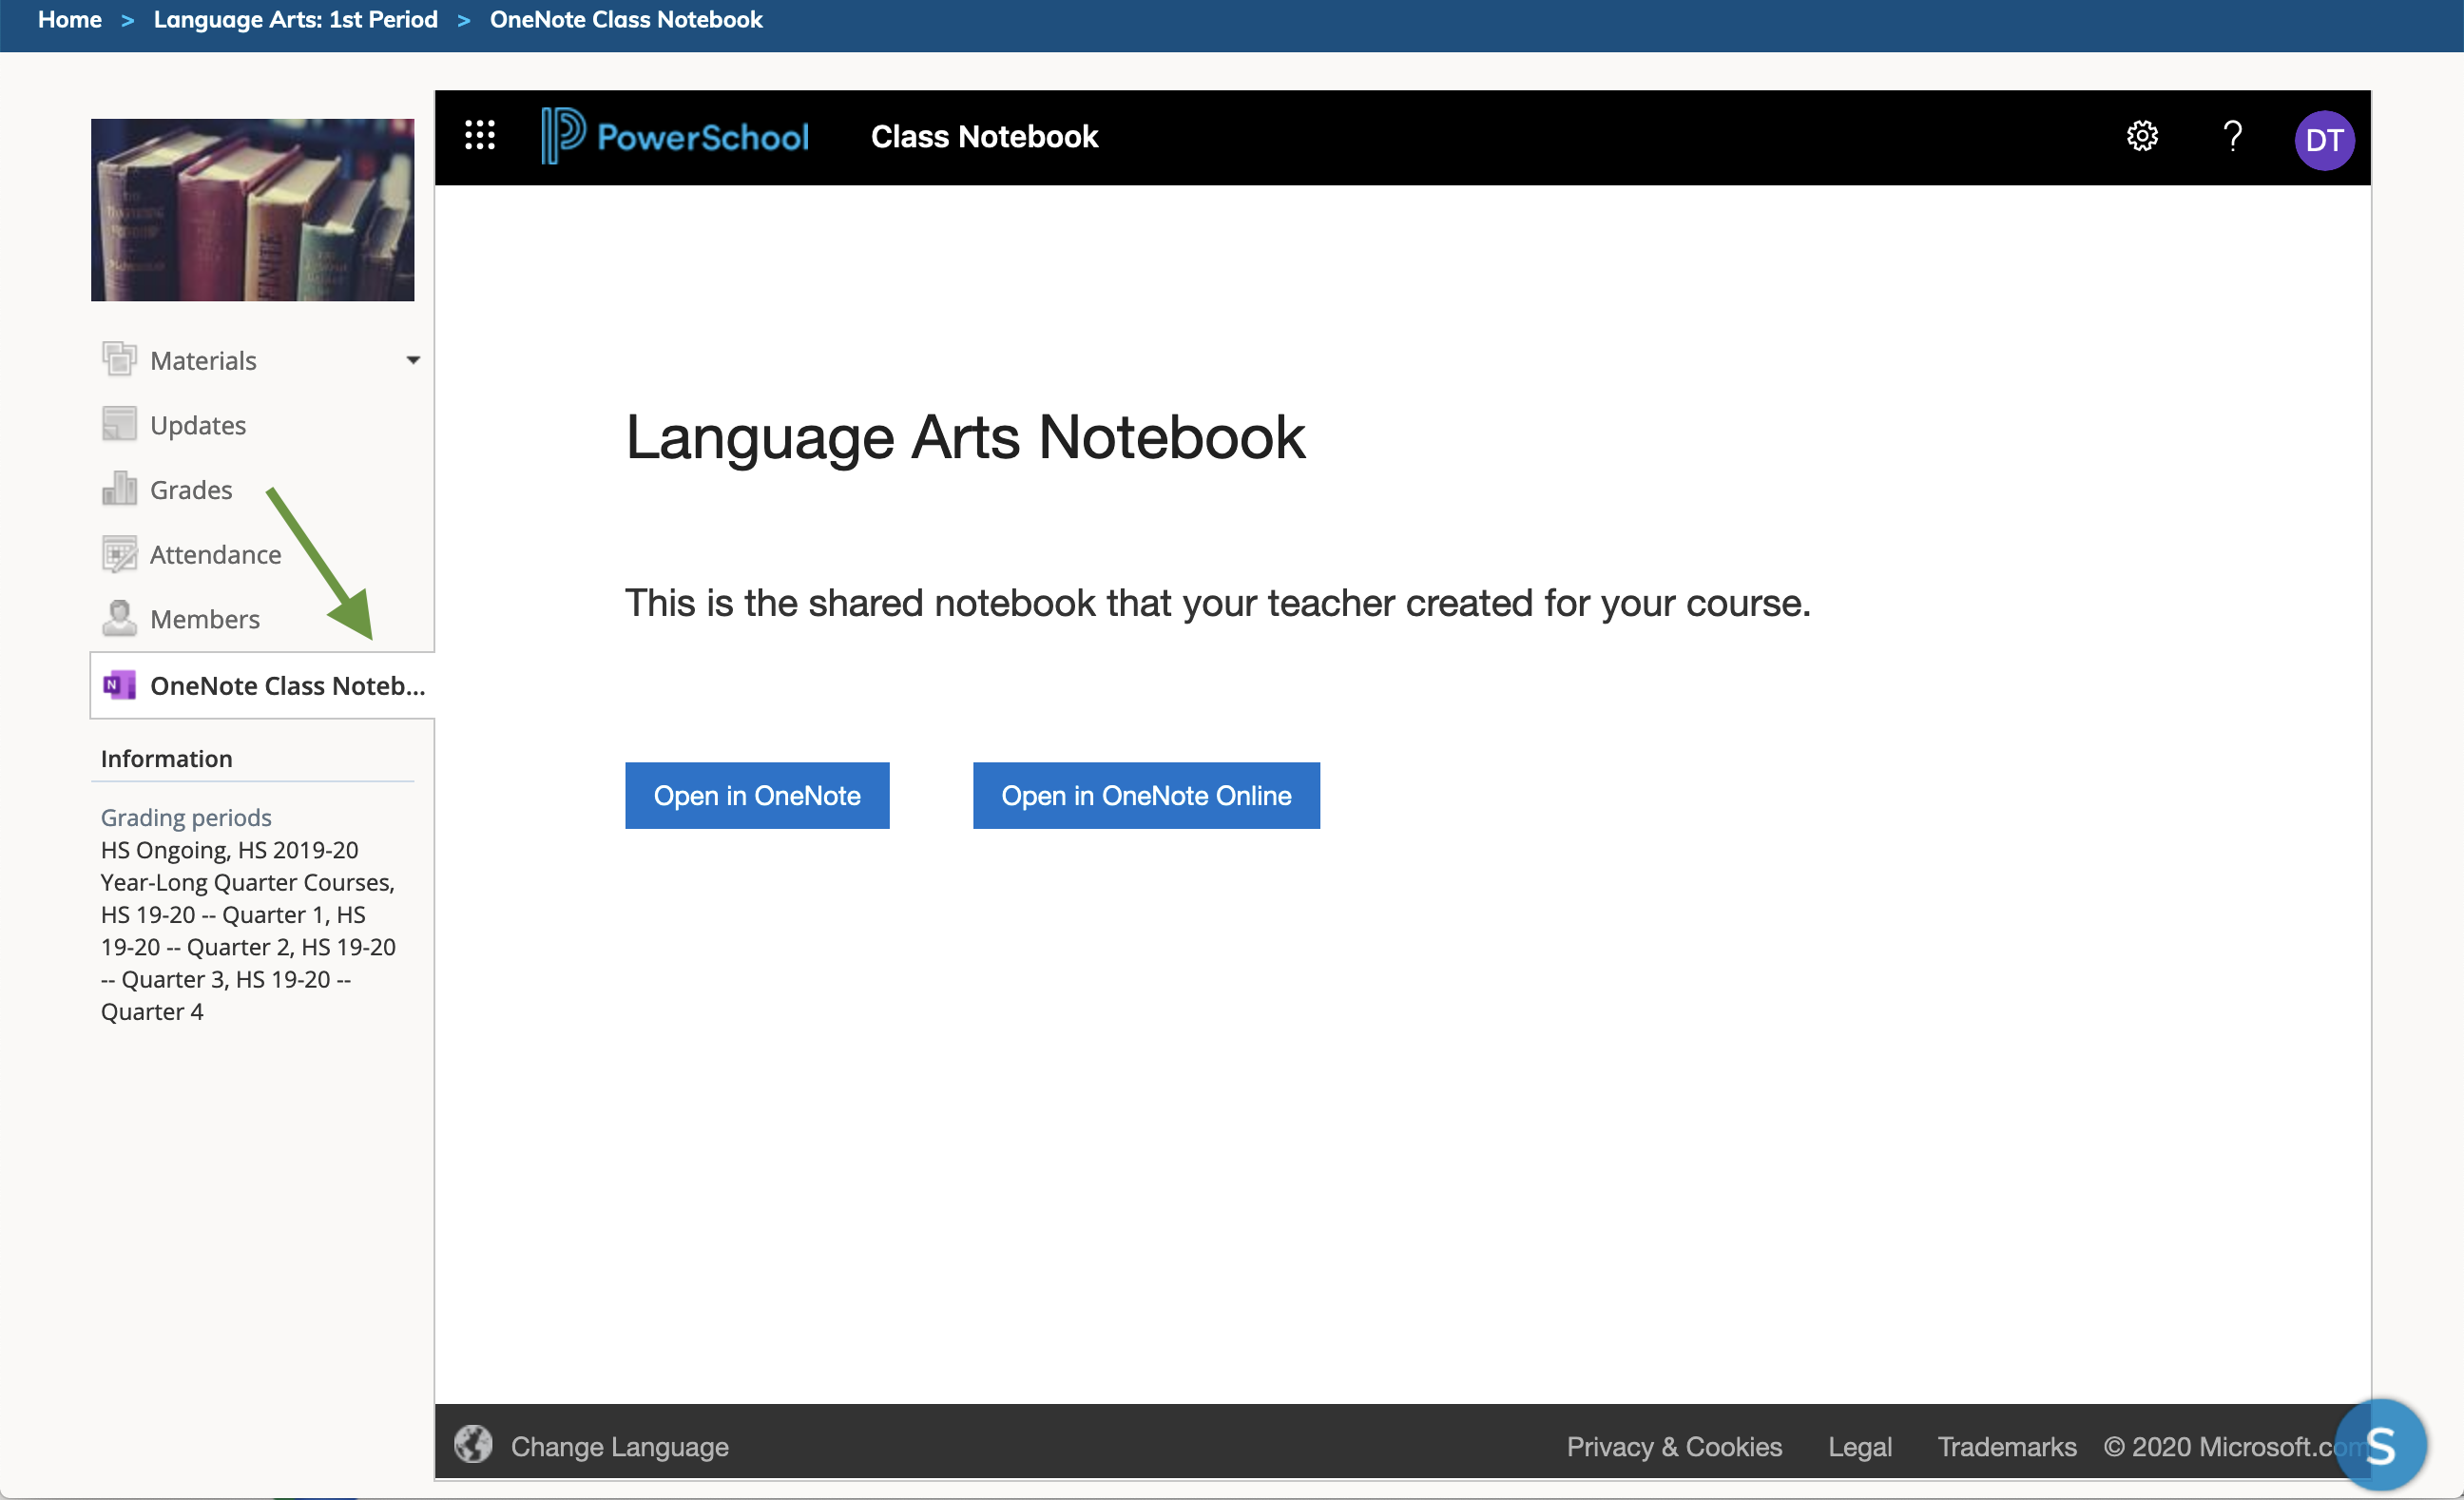
Students can access the OneNote Class Notebook app from the course profile’s left menu.
-
Students will be prompted to log in with their Office 365 account.
-
After logging in, students can open the class notebook in OneNote Desktop or OneNote Online.
Students can use the following areas:
-
Collaboration Space – A shared area for instructors and students to work together.
-
Content Library – Students can review course materials added by the instructor. Only instructors can edit this content.
-
Student Notebook – Each student has a personal notebook for private work. Instructors and the student can edit the content. Students cannot access other students’ notebooks.